Setup your domain name
Choose a domain name you like!
Just follow these links to buy your favorite domain name. The name not end with .com, .org, .net will be cheap, may not choose .cn or .com.cn
- GoDaddy
- Domain.com
- Aliyun阿里云(for china mainland)
- TencentCloud腾讯云(for china mainland)
- Others you may like…..
I can not teach you how to buy domain names in all websites, but you should have a control center of your domain name like this after you buy it. (TencentCloud): 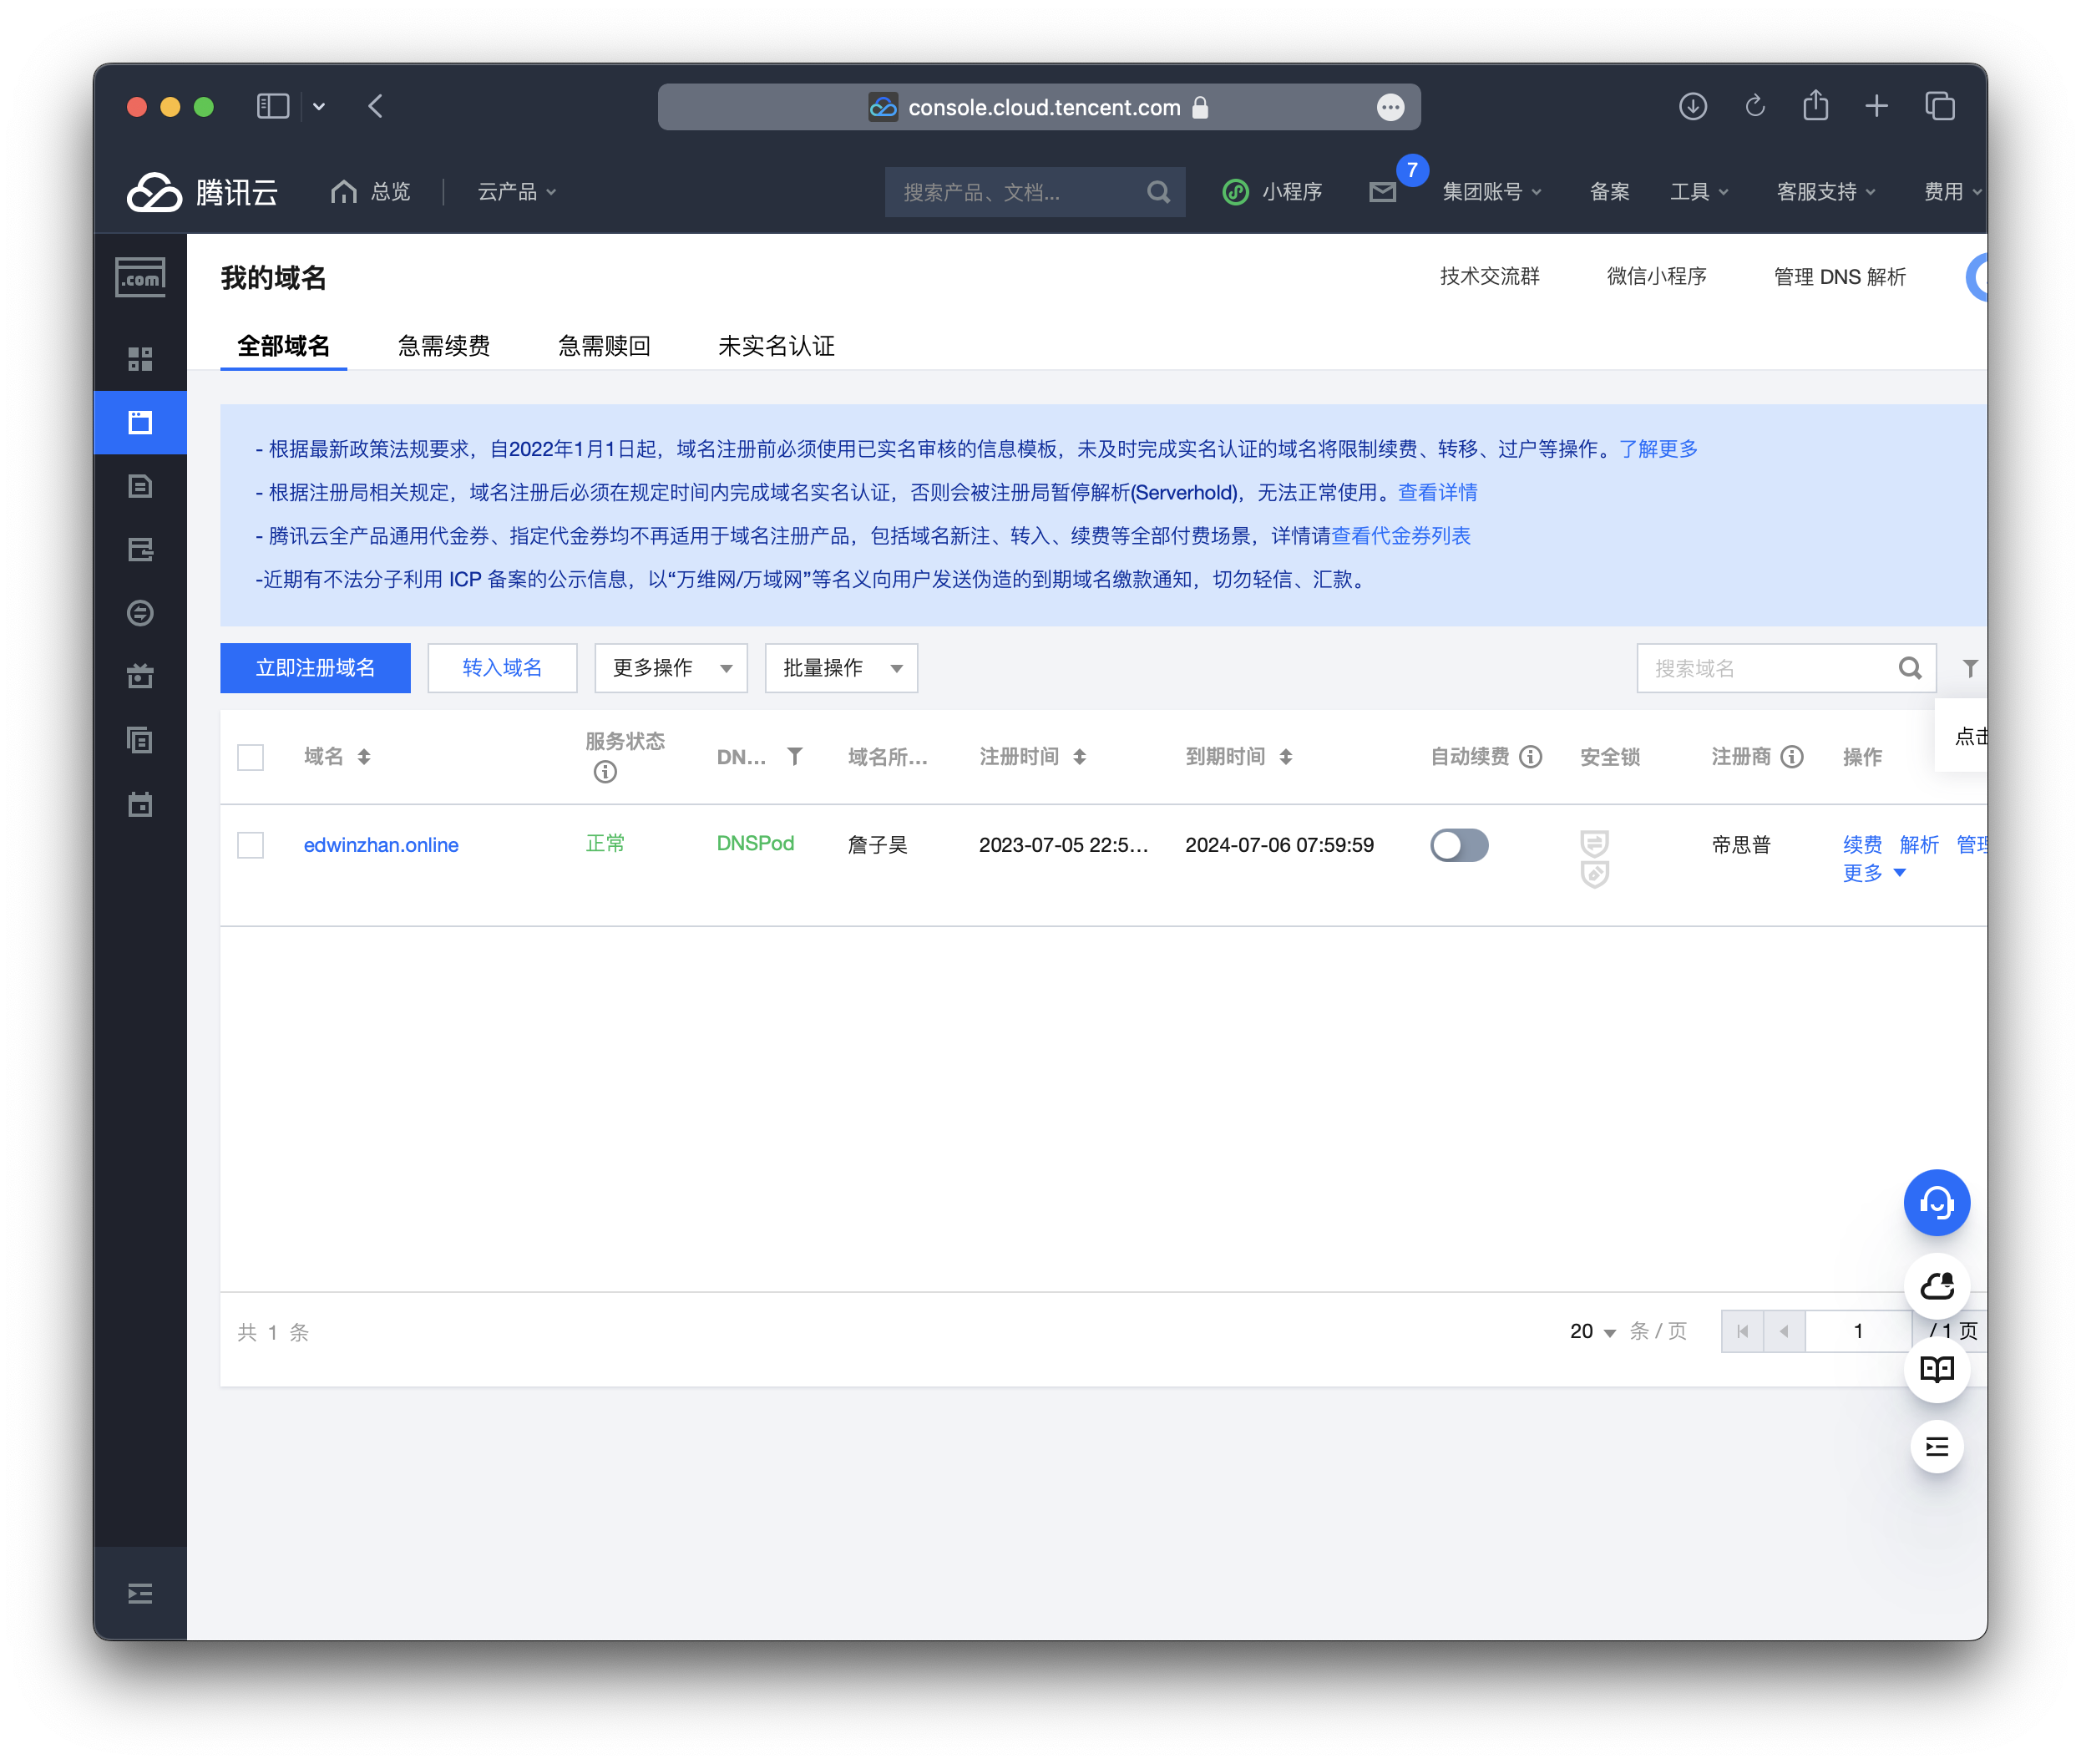 OK.
OK.
WARNING
Make sure you get your own domain name and you can manage it, it is very important.
Setup Nginx configuration file.
Back to the Terminal of your VM.
Just remember these simple commands, and you can use Linux system fluently.
cd //direct to a directory
ls //list all files or directories in current directory.
vim //using the famous editor 'vim'
cd to the root
cdGo to /etc/nginx/
cd /etc/nginx/List all files
ls //you will see such files:
conf.d        fastcgi_params  koi-win     modules-available  nginx.conf    scgi_params      sites-enabled  uwsgi_params
fastcgi.conf  koi-utf         mime.types  modules-enabled    proxy_params  sites-available  snippets       win-utf
A blue name means a directory, a white means a file The Configuration file is under the directory sties-available. So cd to the sites-available
cd /etc/nginx/sites-available
ls //show files:
default
Edit file defualt by using vim, nano, etc, I will use nano.(😄)
nano defaultAfter command run, you can see a lot of lines of cmments or codes, which is correct, If not, check If you type wrong or doing something else.
  GNU nano 6.2                                                           default
##
# You should look at the following URL's in order to grasp a solid understanding
# of Nginx configuration files in order to fully unleash the power of Nginx.
# https://www.nginx.com/resources/wiki/start/
# https://www.nginx.com/resources/wiki/start/topics/tutorials/config_pitfalls/
# https://wiki.debian.org/Nginx/DirectoryStructure
#
# In most cases, administrators will remove this file from sites-enabled/ and
# leave it as reference inside of sites-available where it will continue to be
# updated by the nginx packaging team.
#
# This file will automatically load configuration files provided by other
# applications, such as Drupal or Wordpress. These applications will be made
# available underneath a path with that package name, such as /drupal8.
#
# Please see /usr/share/doc/nginx-doc/examples/ for more detailed examples.
##

# Default server configuration
#
server {
        listen 80 default_server;
        listen [::]:80 default_server;

        # SSL configuration
        #
        # listen 443 ssl default_server;
        # listen [::]:443 ssl default_server;
        #

^G Help         ^O Write Out    ^W Where Is     ^K Cut          ^T Execute      ^C Location     M-U Undo        M-A Set Mark    M-] To Bracket
^X Exit         ^R Read File    ^\ Replace      ^U Paste        ^J Justify      ^/ Go To Line   M-E Redo        M-6 Copy        ^Q Where Was
To be more clear I will show my config file that do not have comments:
server{
        listen 80;
        listen [::]:80;
        server_name edwinzhan.online www.edwinzhan.online; //add you own domain names. www.example.com or example.com
}
Add some of them, but do not change other things. Save and qiute by following guides it provided.
Well down! After doing this, back to Terminal, restart Nginx
sudo systemctl restart nginxCheck the status:
sudo systemctl status nginxNow, try to access your VM by simply input your Public IP Address, if it shows: 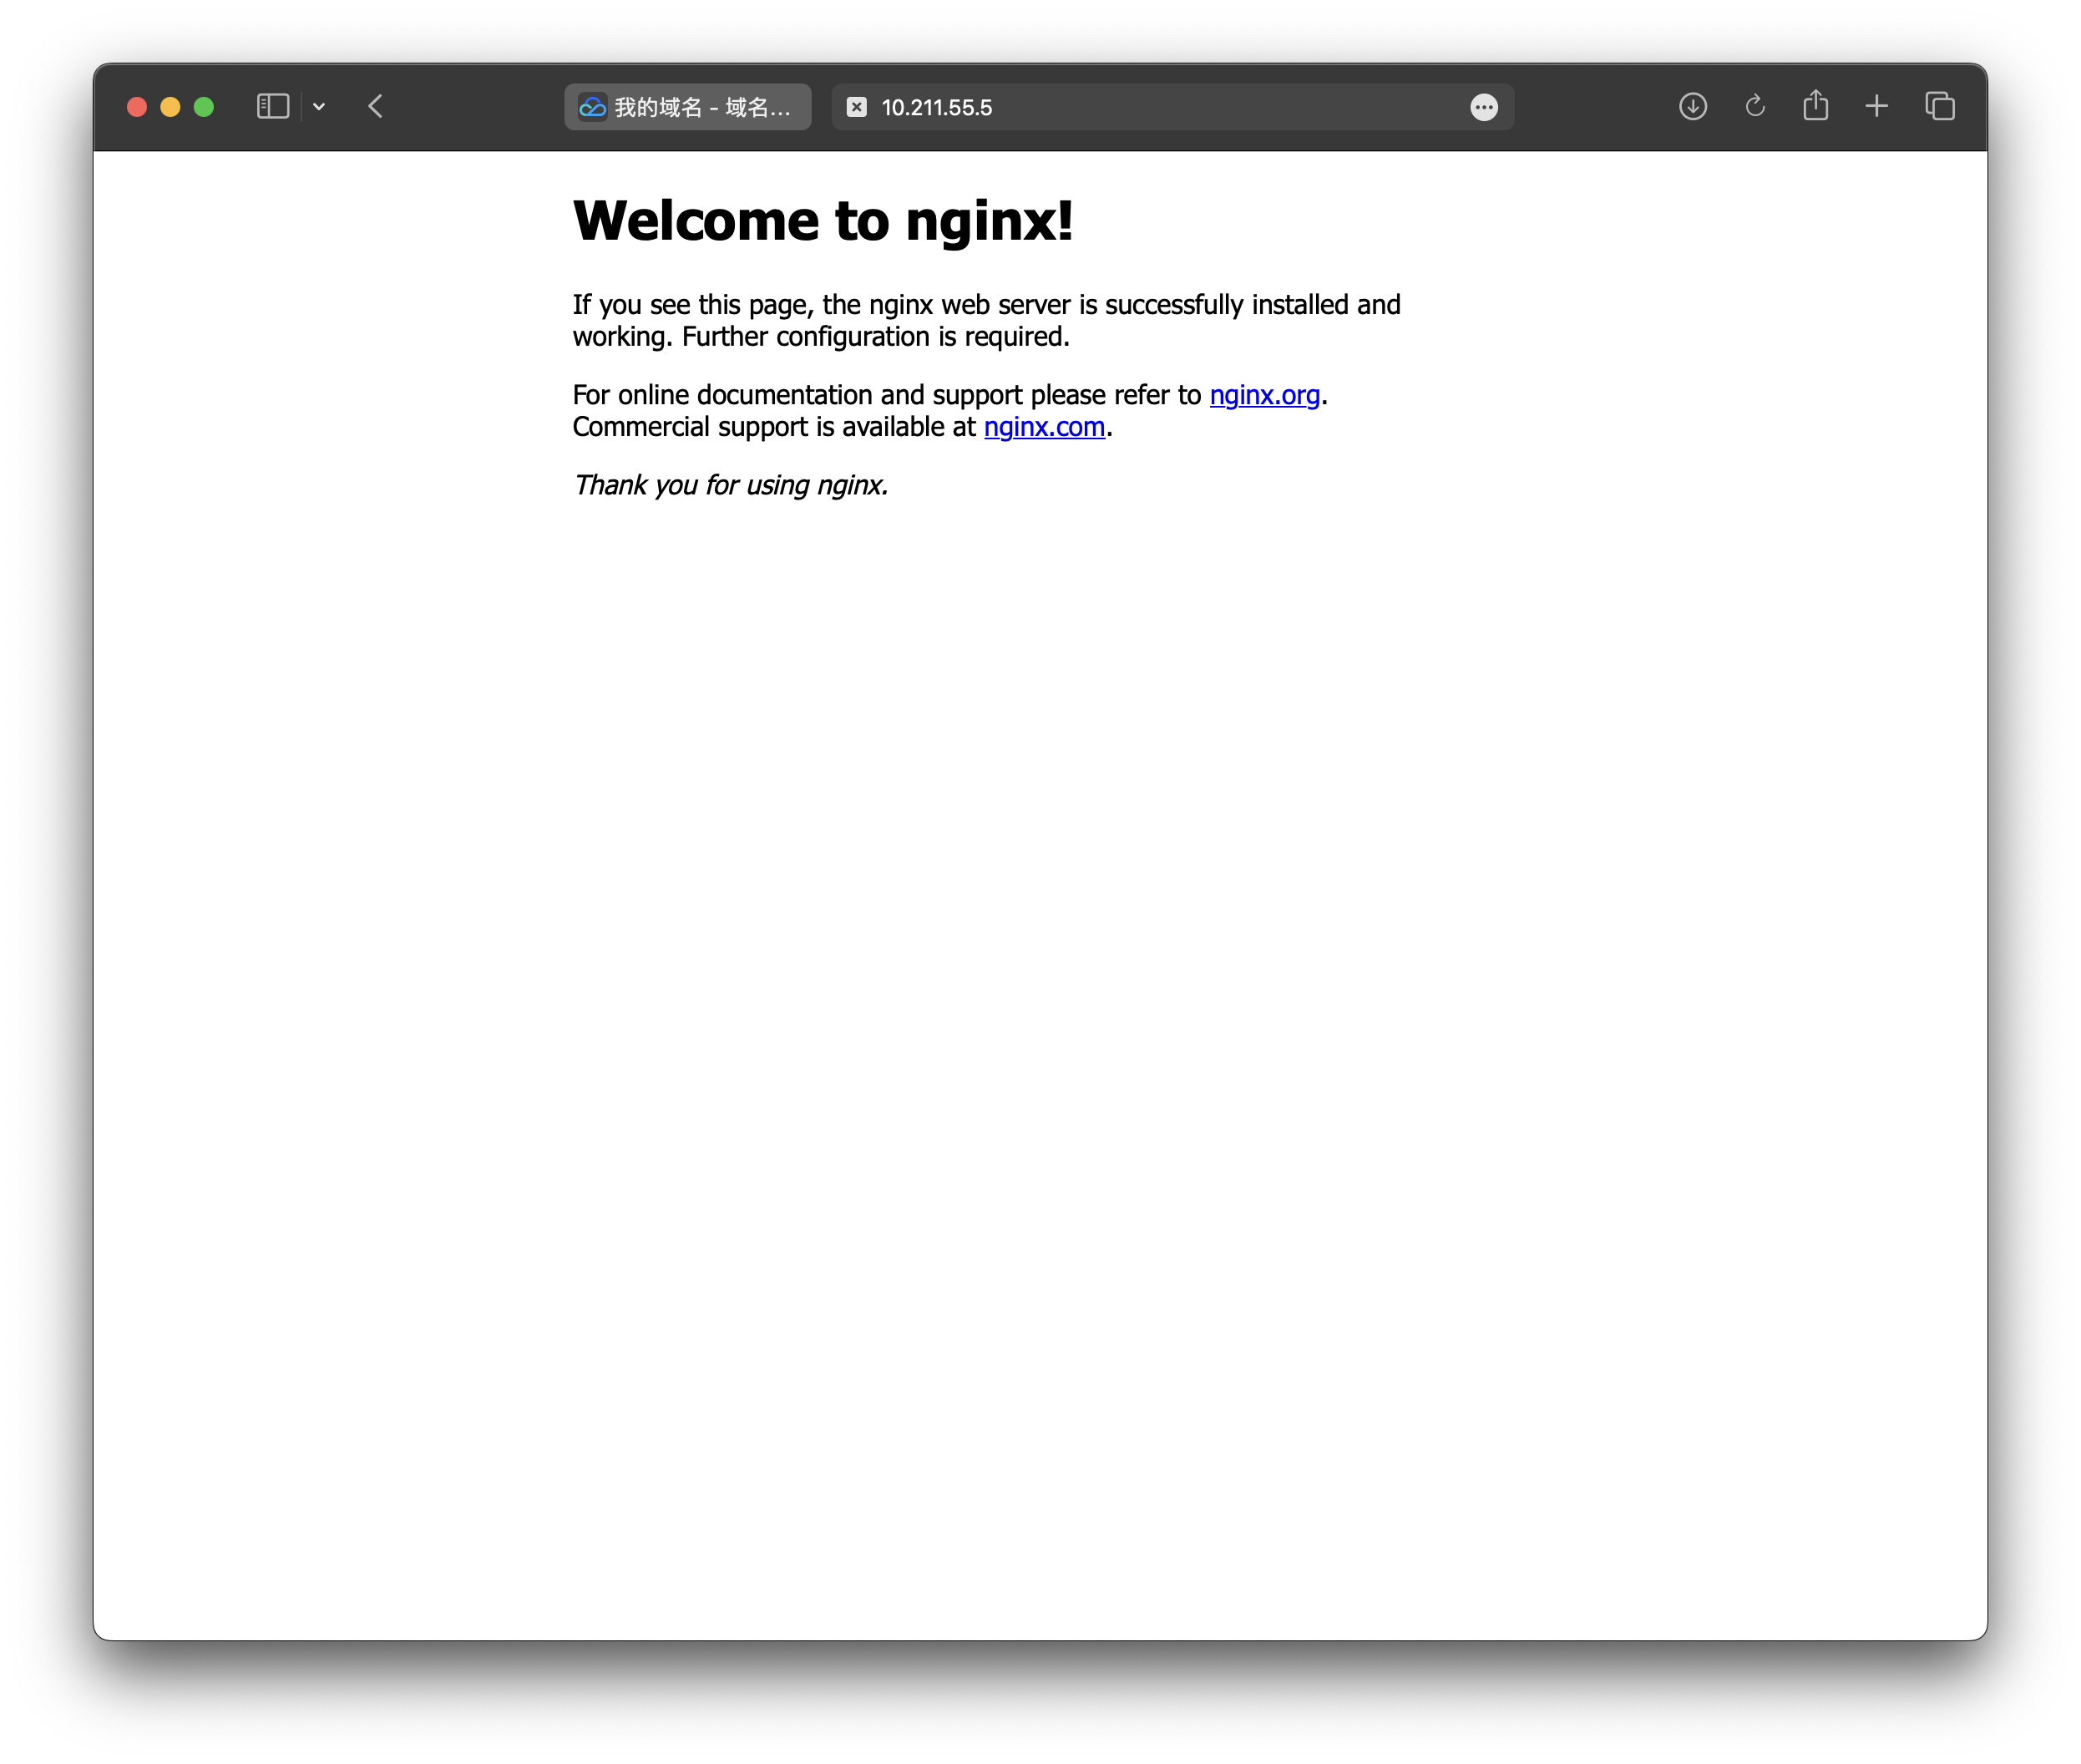
Your are success to access your Nginx (A web server) by Internet! So, where is this page comes from? /var/www/ is a directory Nginx provides us, you can upload your website files here, it is a default root for our website. You can see the source code of defualt page by:
cd /var/www/html/
ls //list files:
index.nginx-debian.html
And
nano index.nginx-debian.htmlTIP
By the way, we will connect this directory with Github later. Now we should redirect our domain name to our IP address.
Add host records.
Go to your control center of domain name. And go resolution
Whatever which type of control center you have, it should contains following settings:
- Host record
- Record type
- Router type
- Record Value
- TTL
- ...
By accessing www, we need to add tow records
- Host record: www
- Record type: A
- Router type: Default
- Record value: Your public IP address
- TTL: 600
- Host record: @
- Record type: A
- Router type: Default
- Record value: Your public IP address
- TTL: 600
 Others are optional.
 After you did this, you can use your domain name to access the Nginx default page!
WARNING
Reminds! Using http://instead of https://

Here we go!