Start with Azure Virtual Machine
Get an Azure Account
StudentGo to Azure Student Click 'Start free', you may need your education email for verification, example@yourschool.edu
Not a student ?Go to Microsoft Azure official website Click 'Free account', Note you may need to add payment methods after the free trial. 
Login to the Microsoft Azure
Go to Microsoft Azure Then login with your azure account 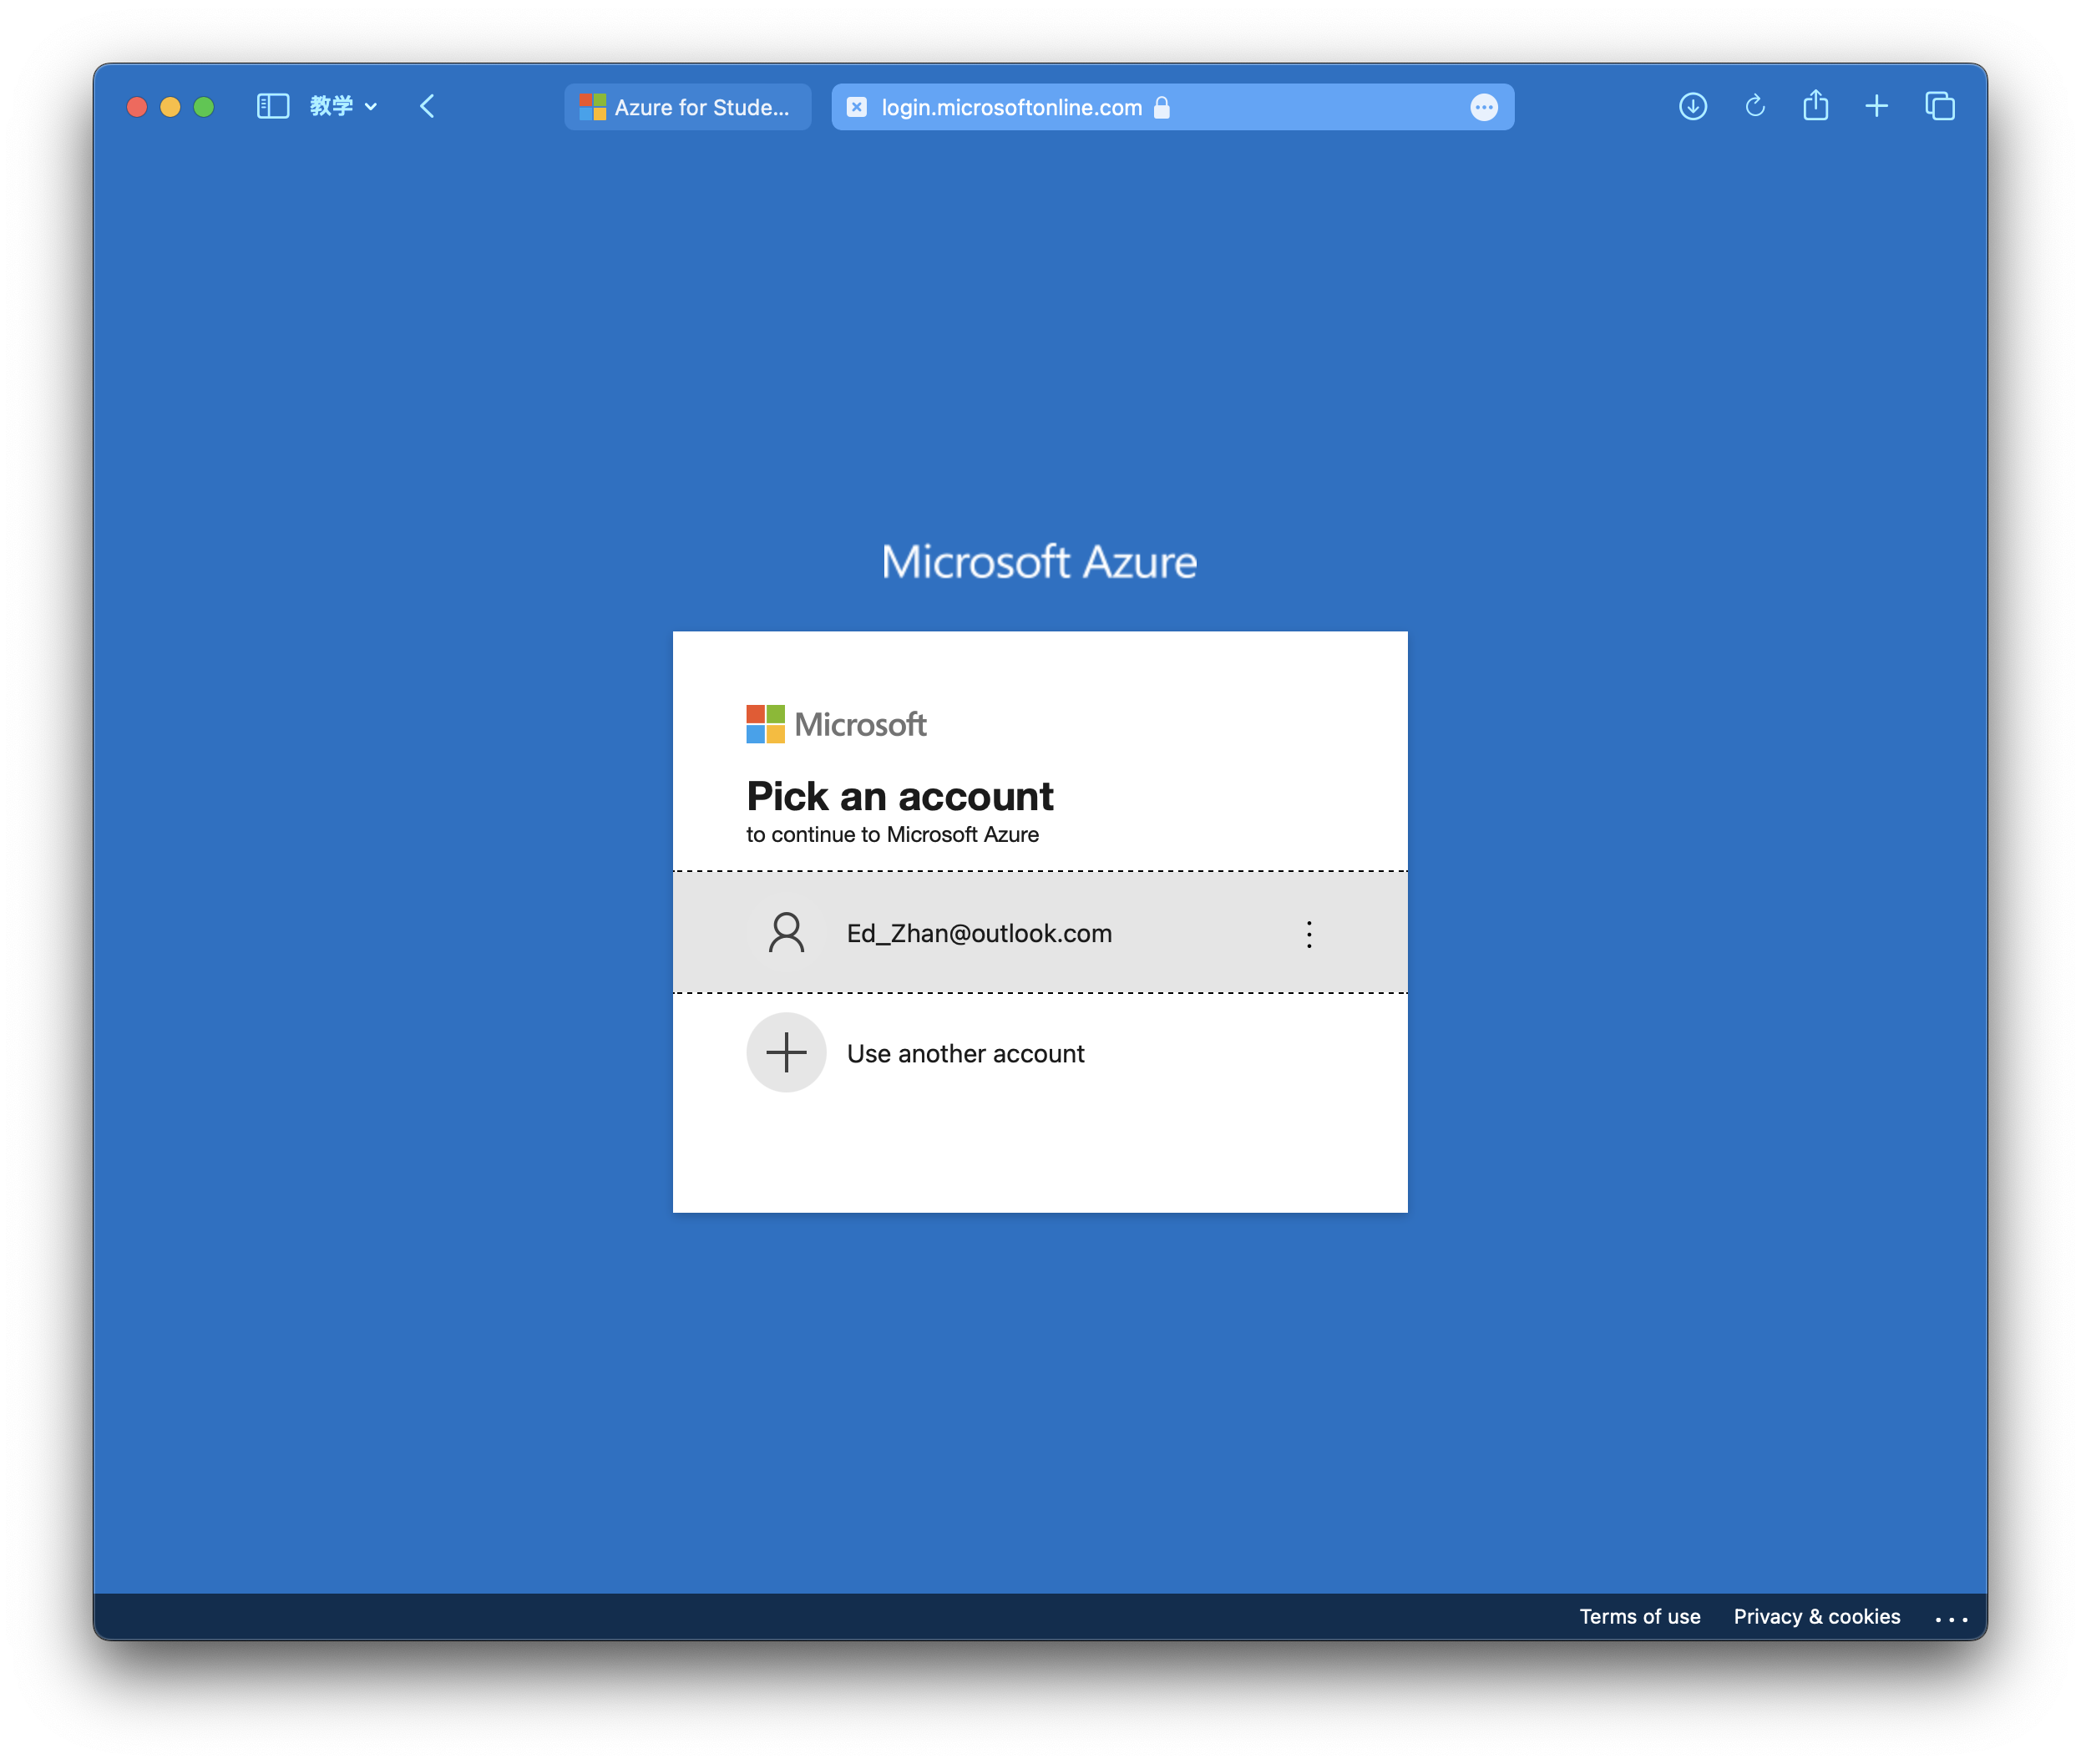
After login Successfully, you will see an Azure portal like this 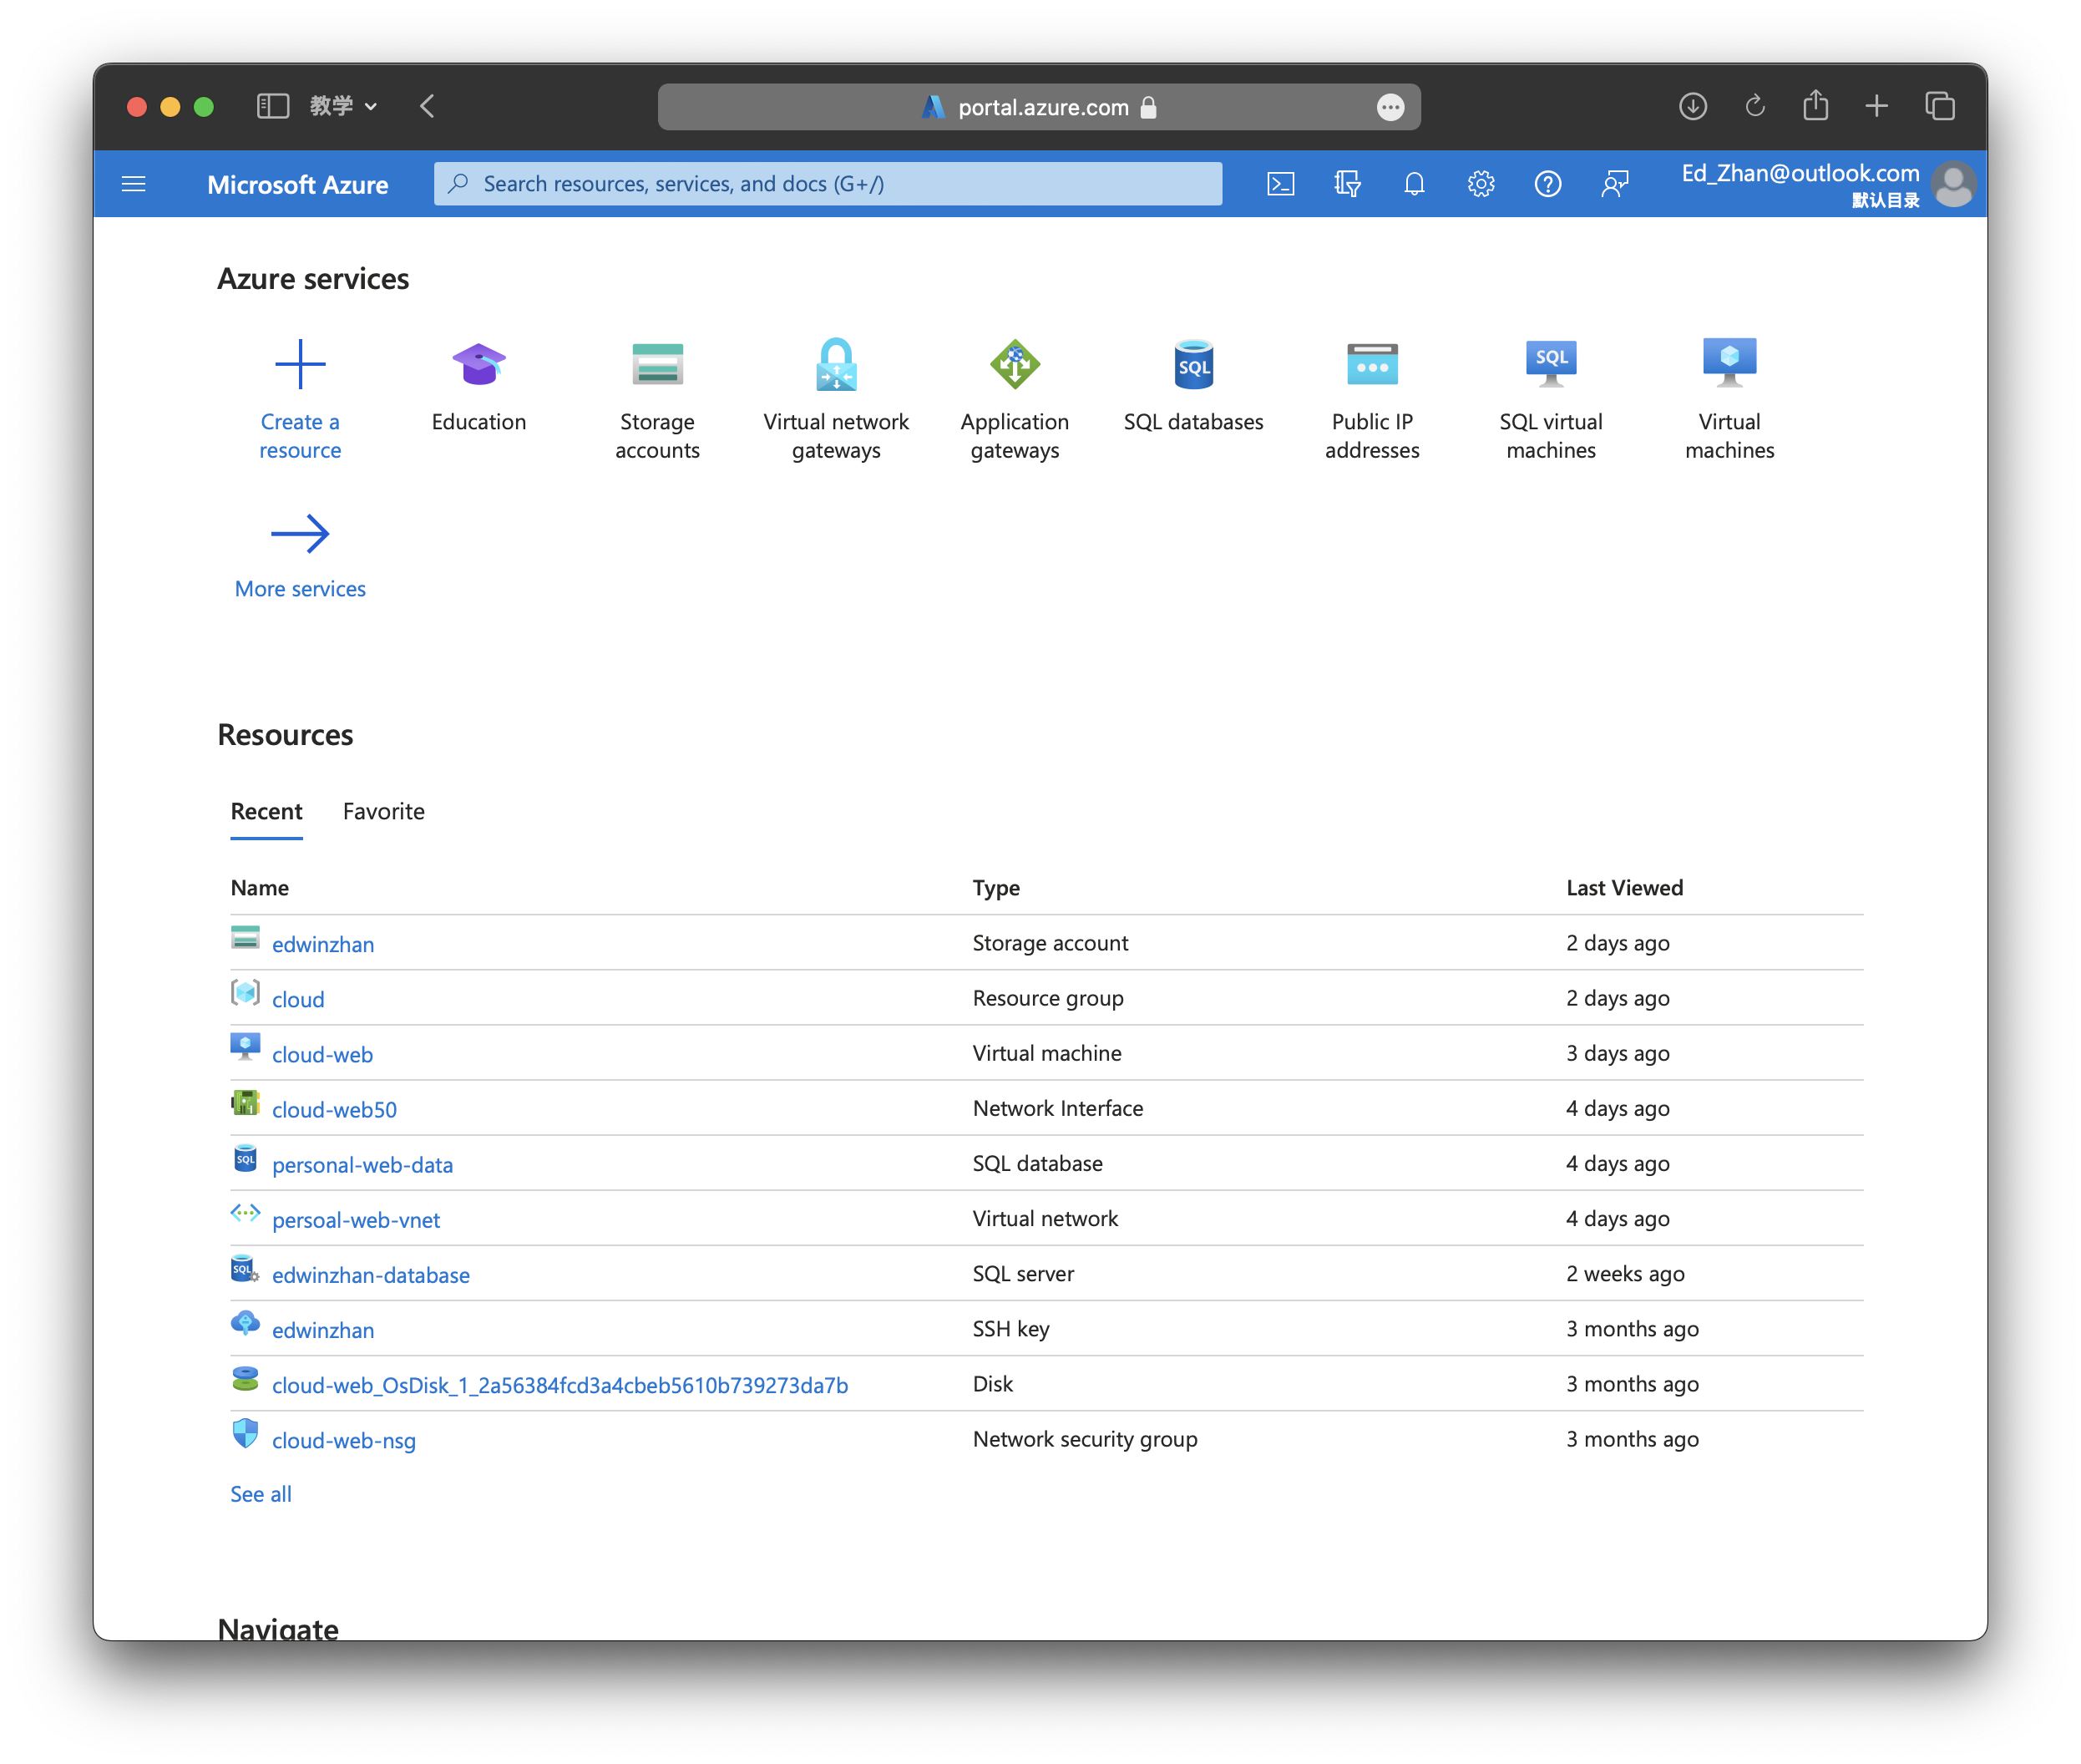 and click Create a resource
Create a virtual machine
You will see the icon of virtual machine then click Create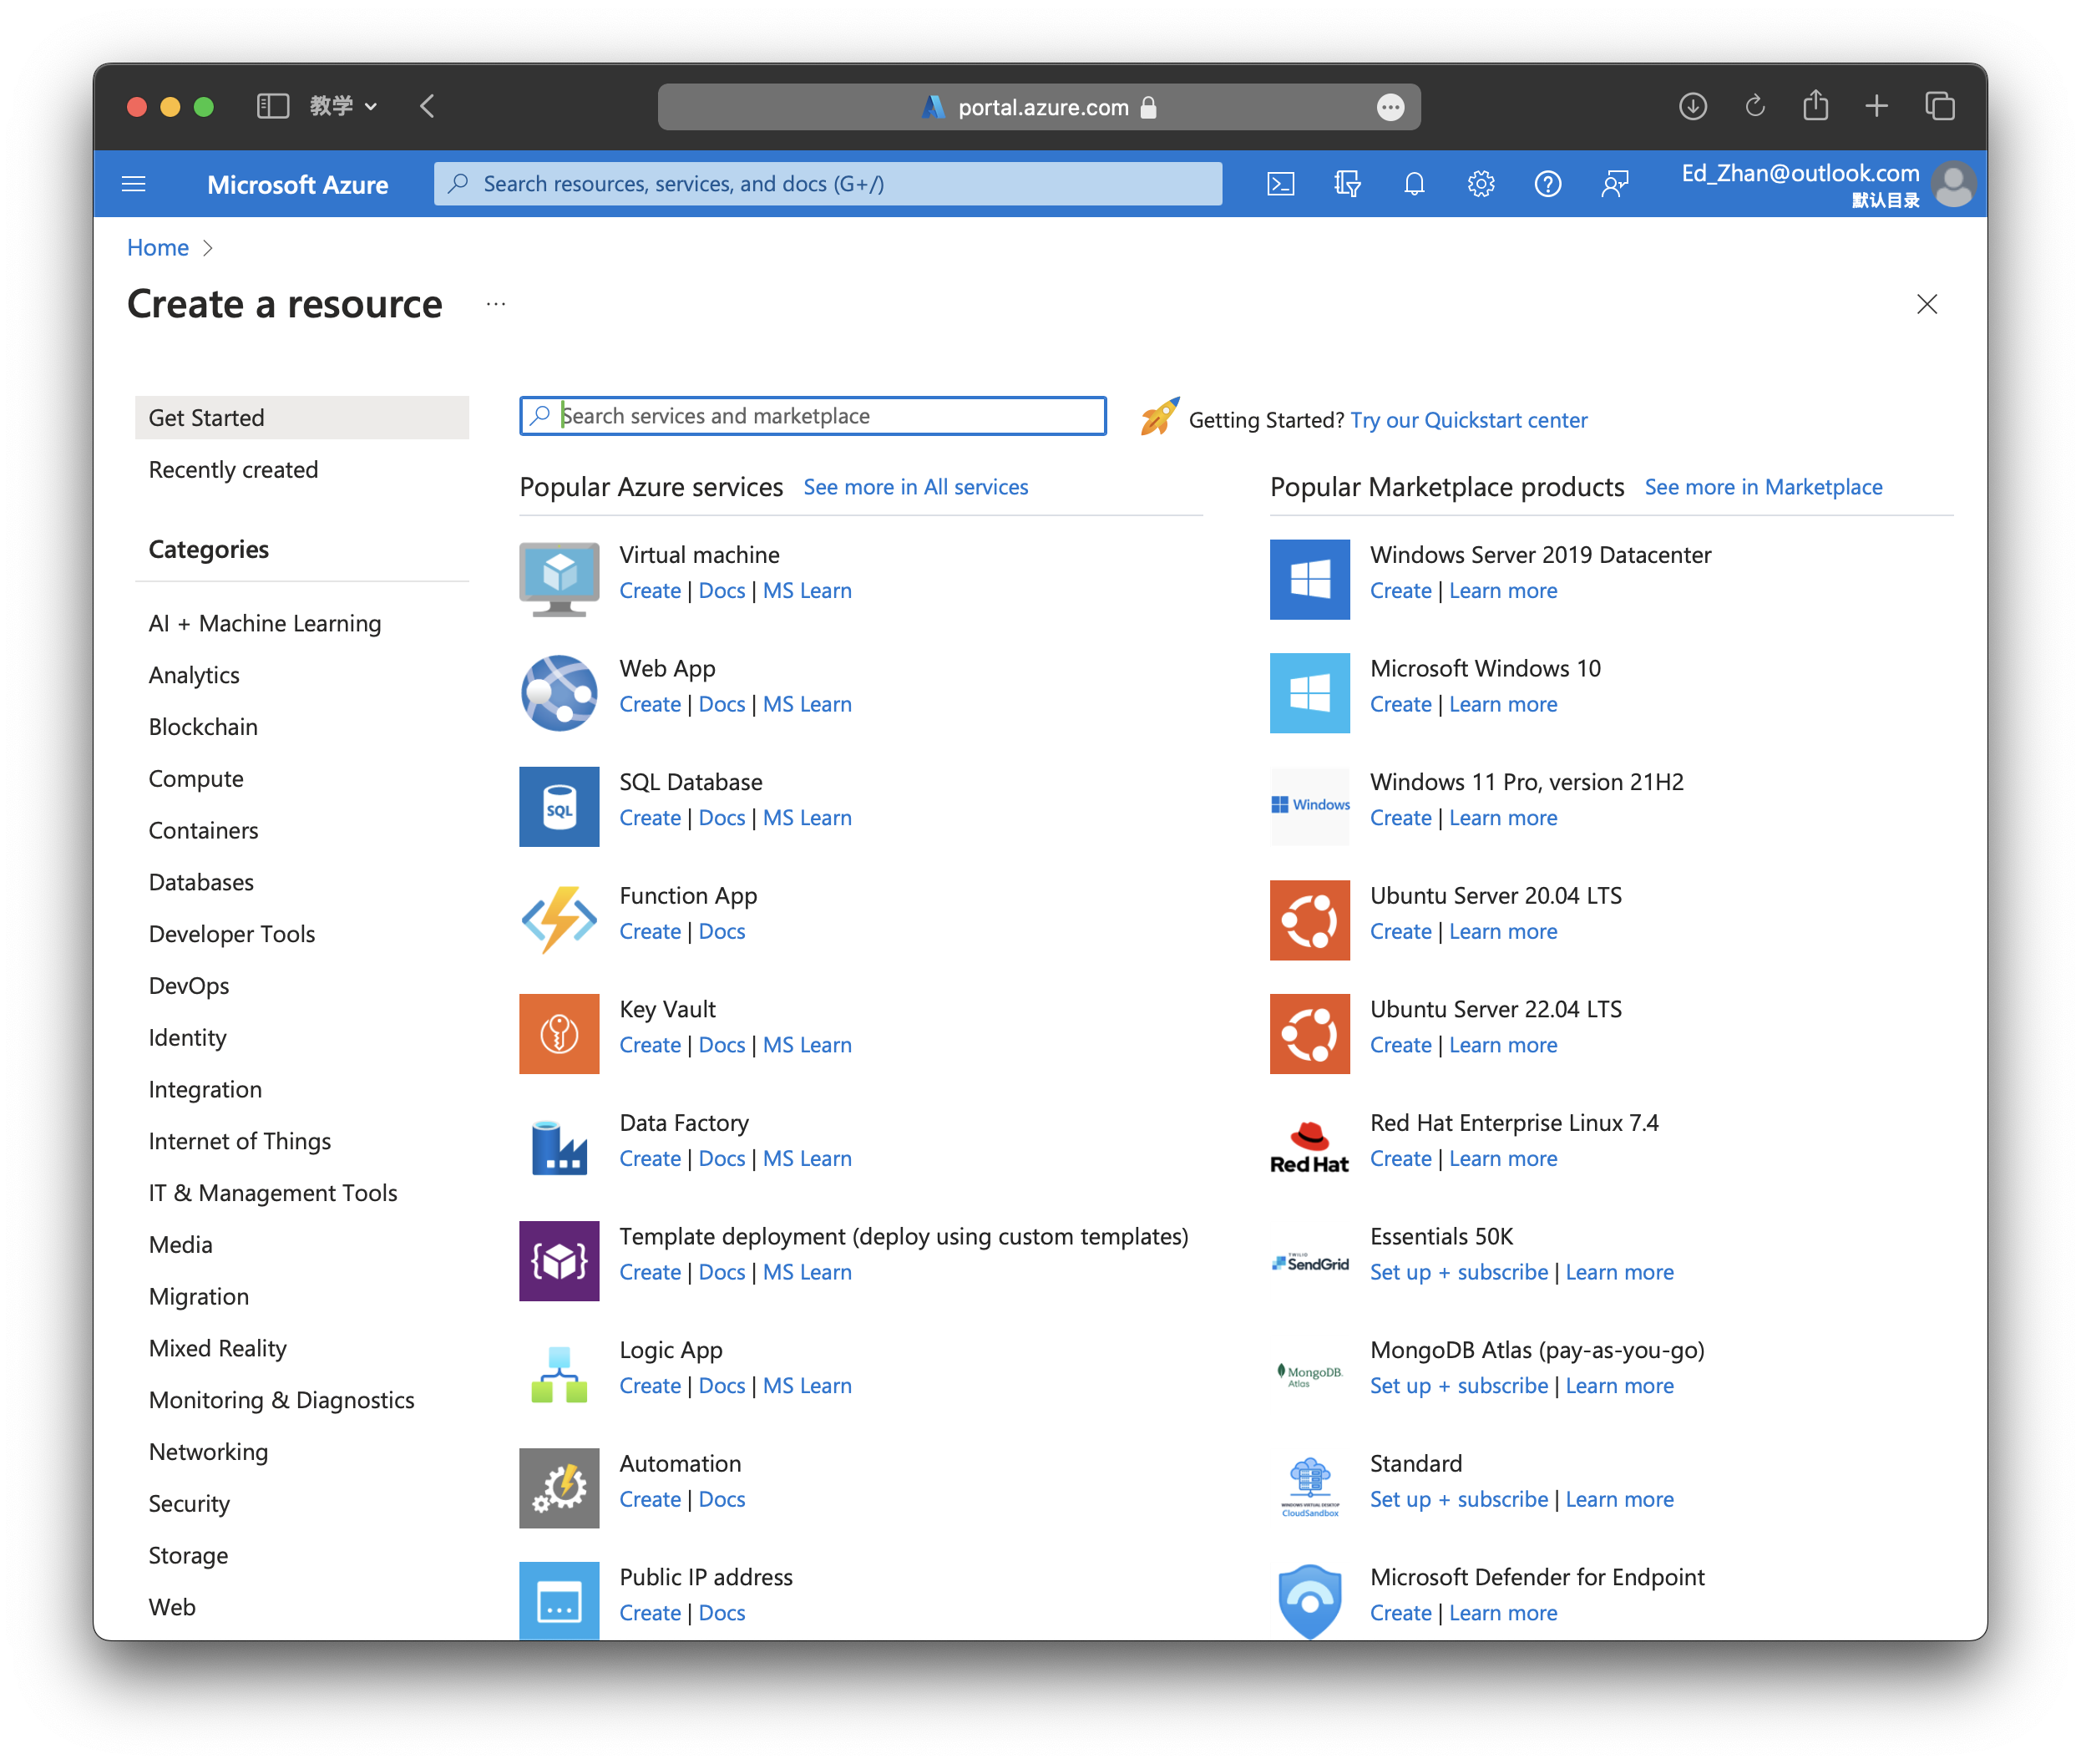 This page is where you will set up your virtual machine.
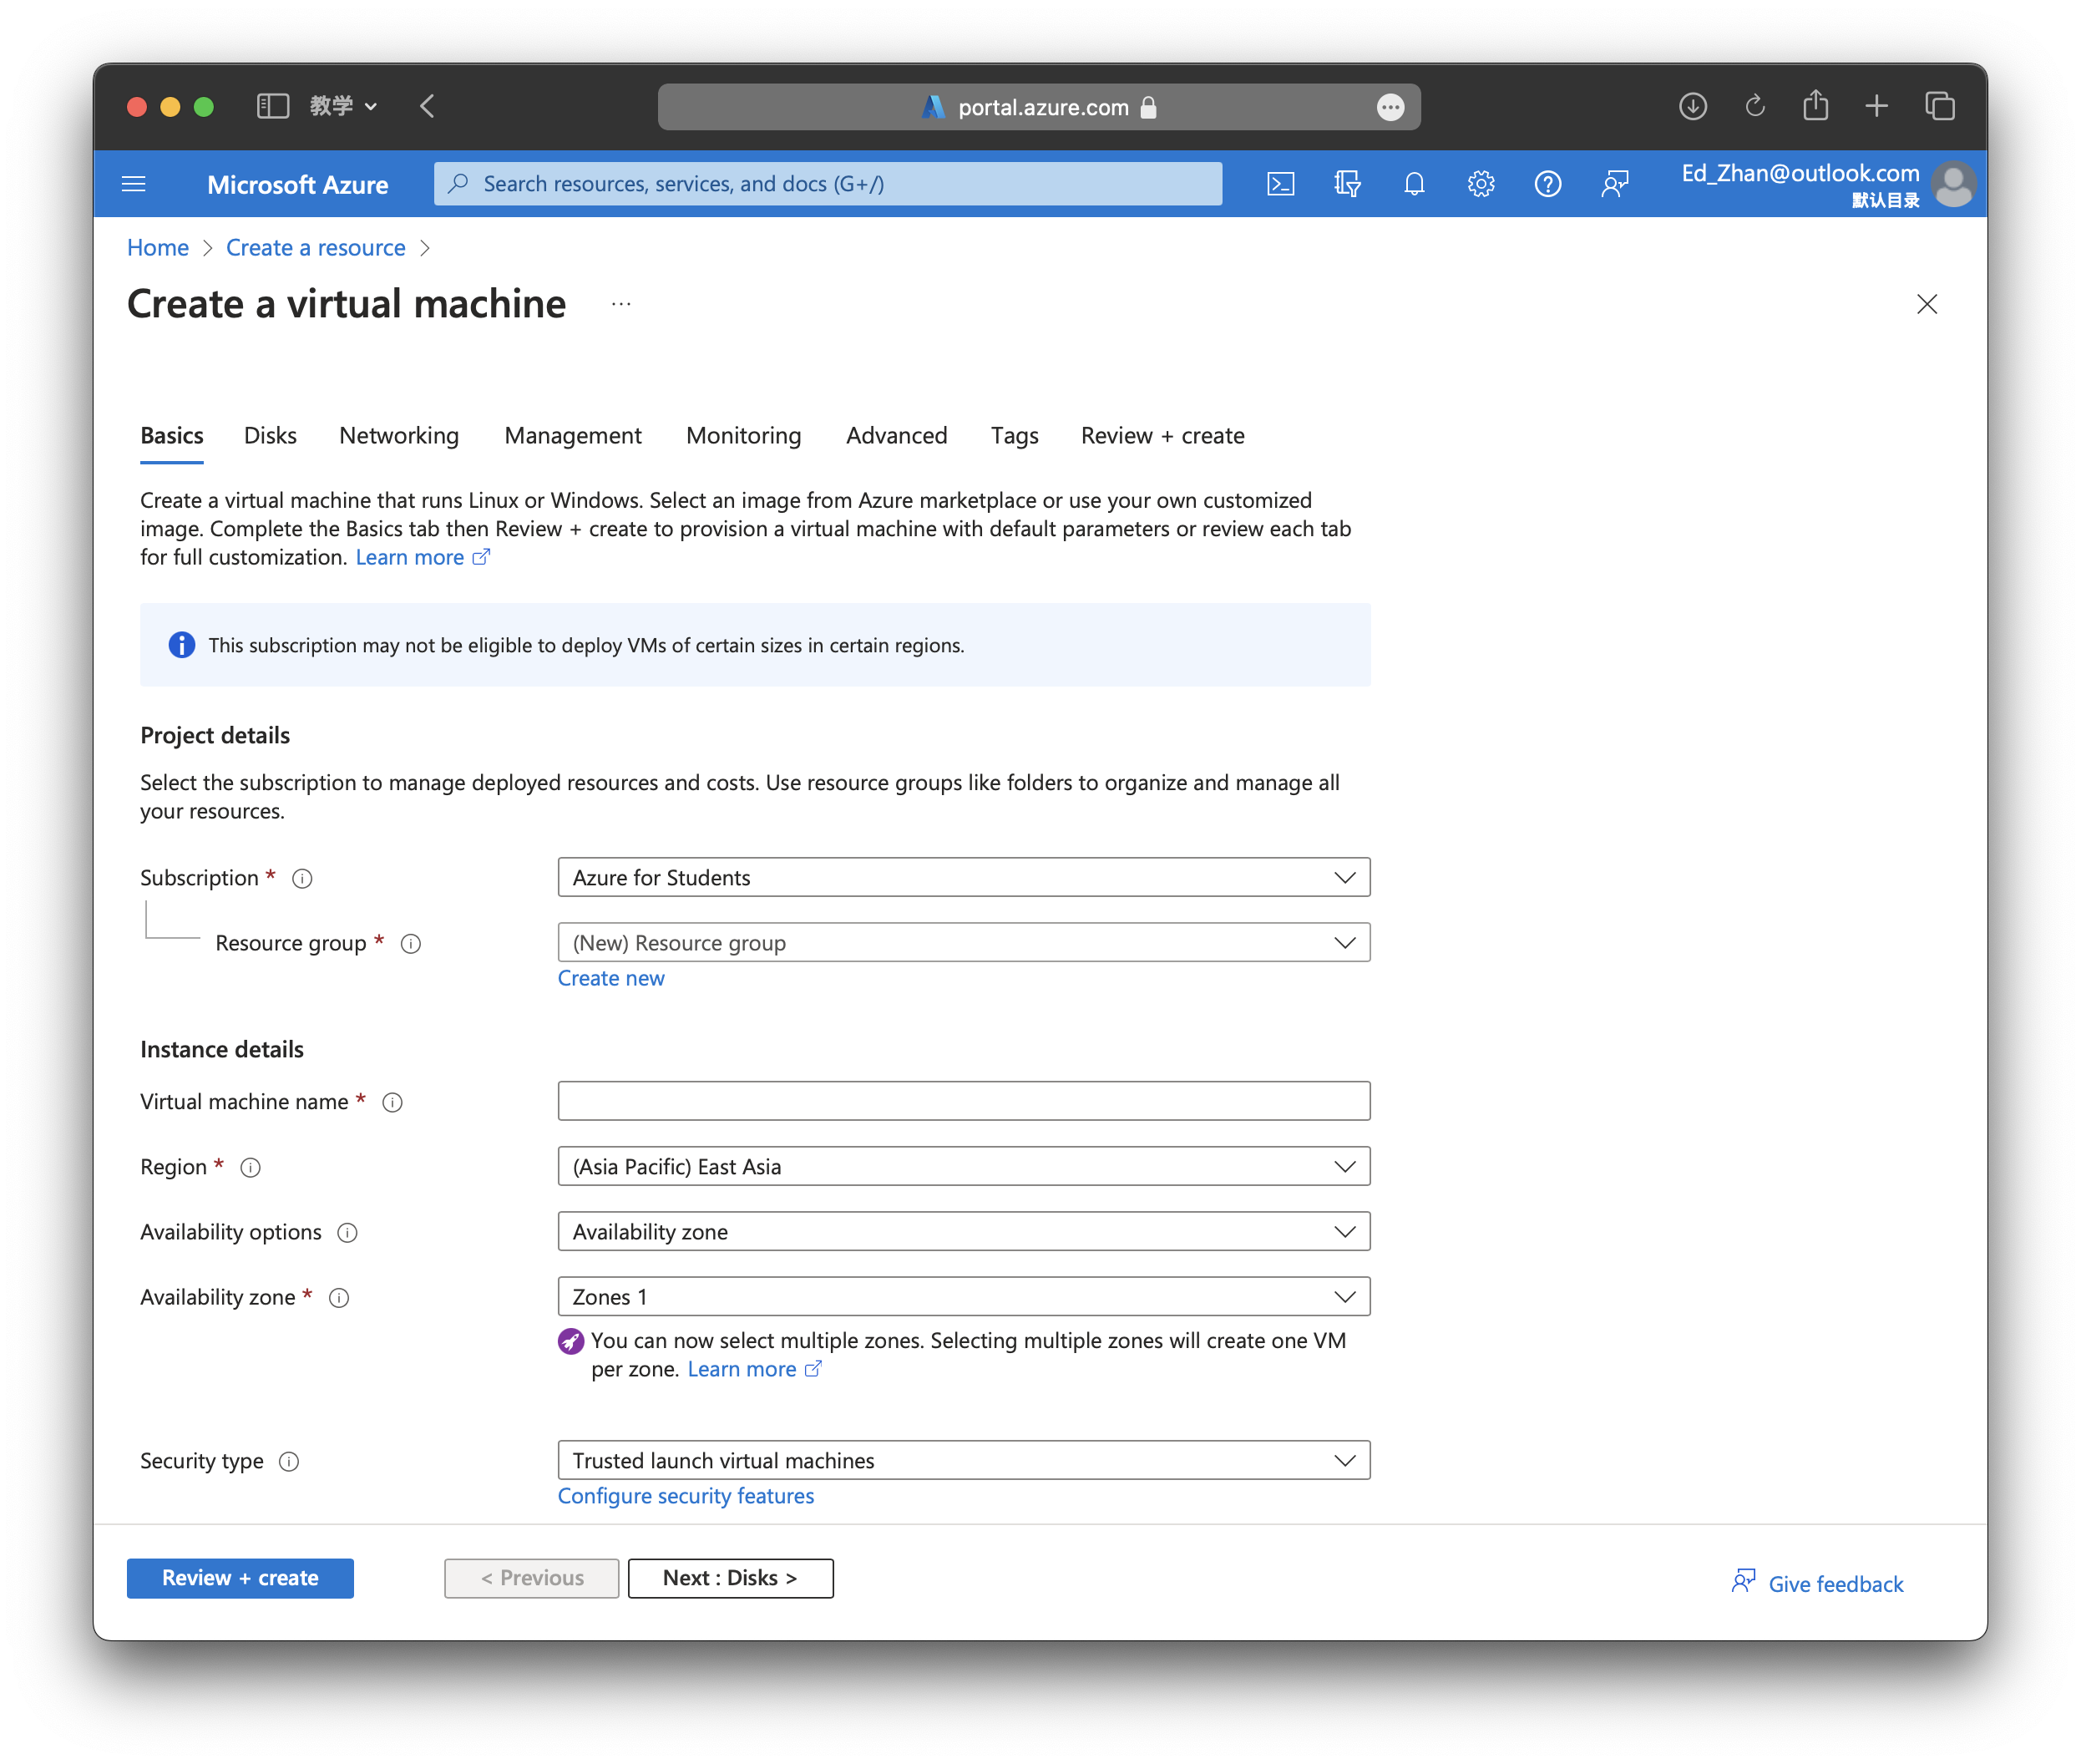
The inputs needed: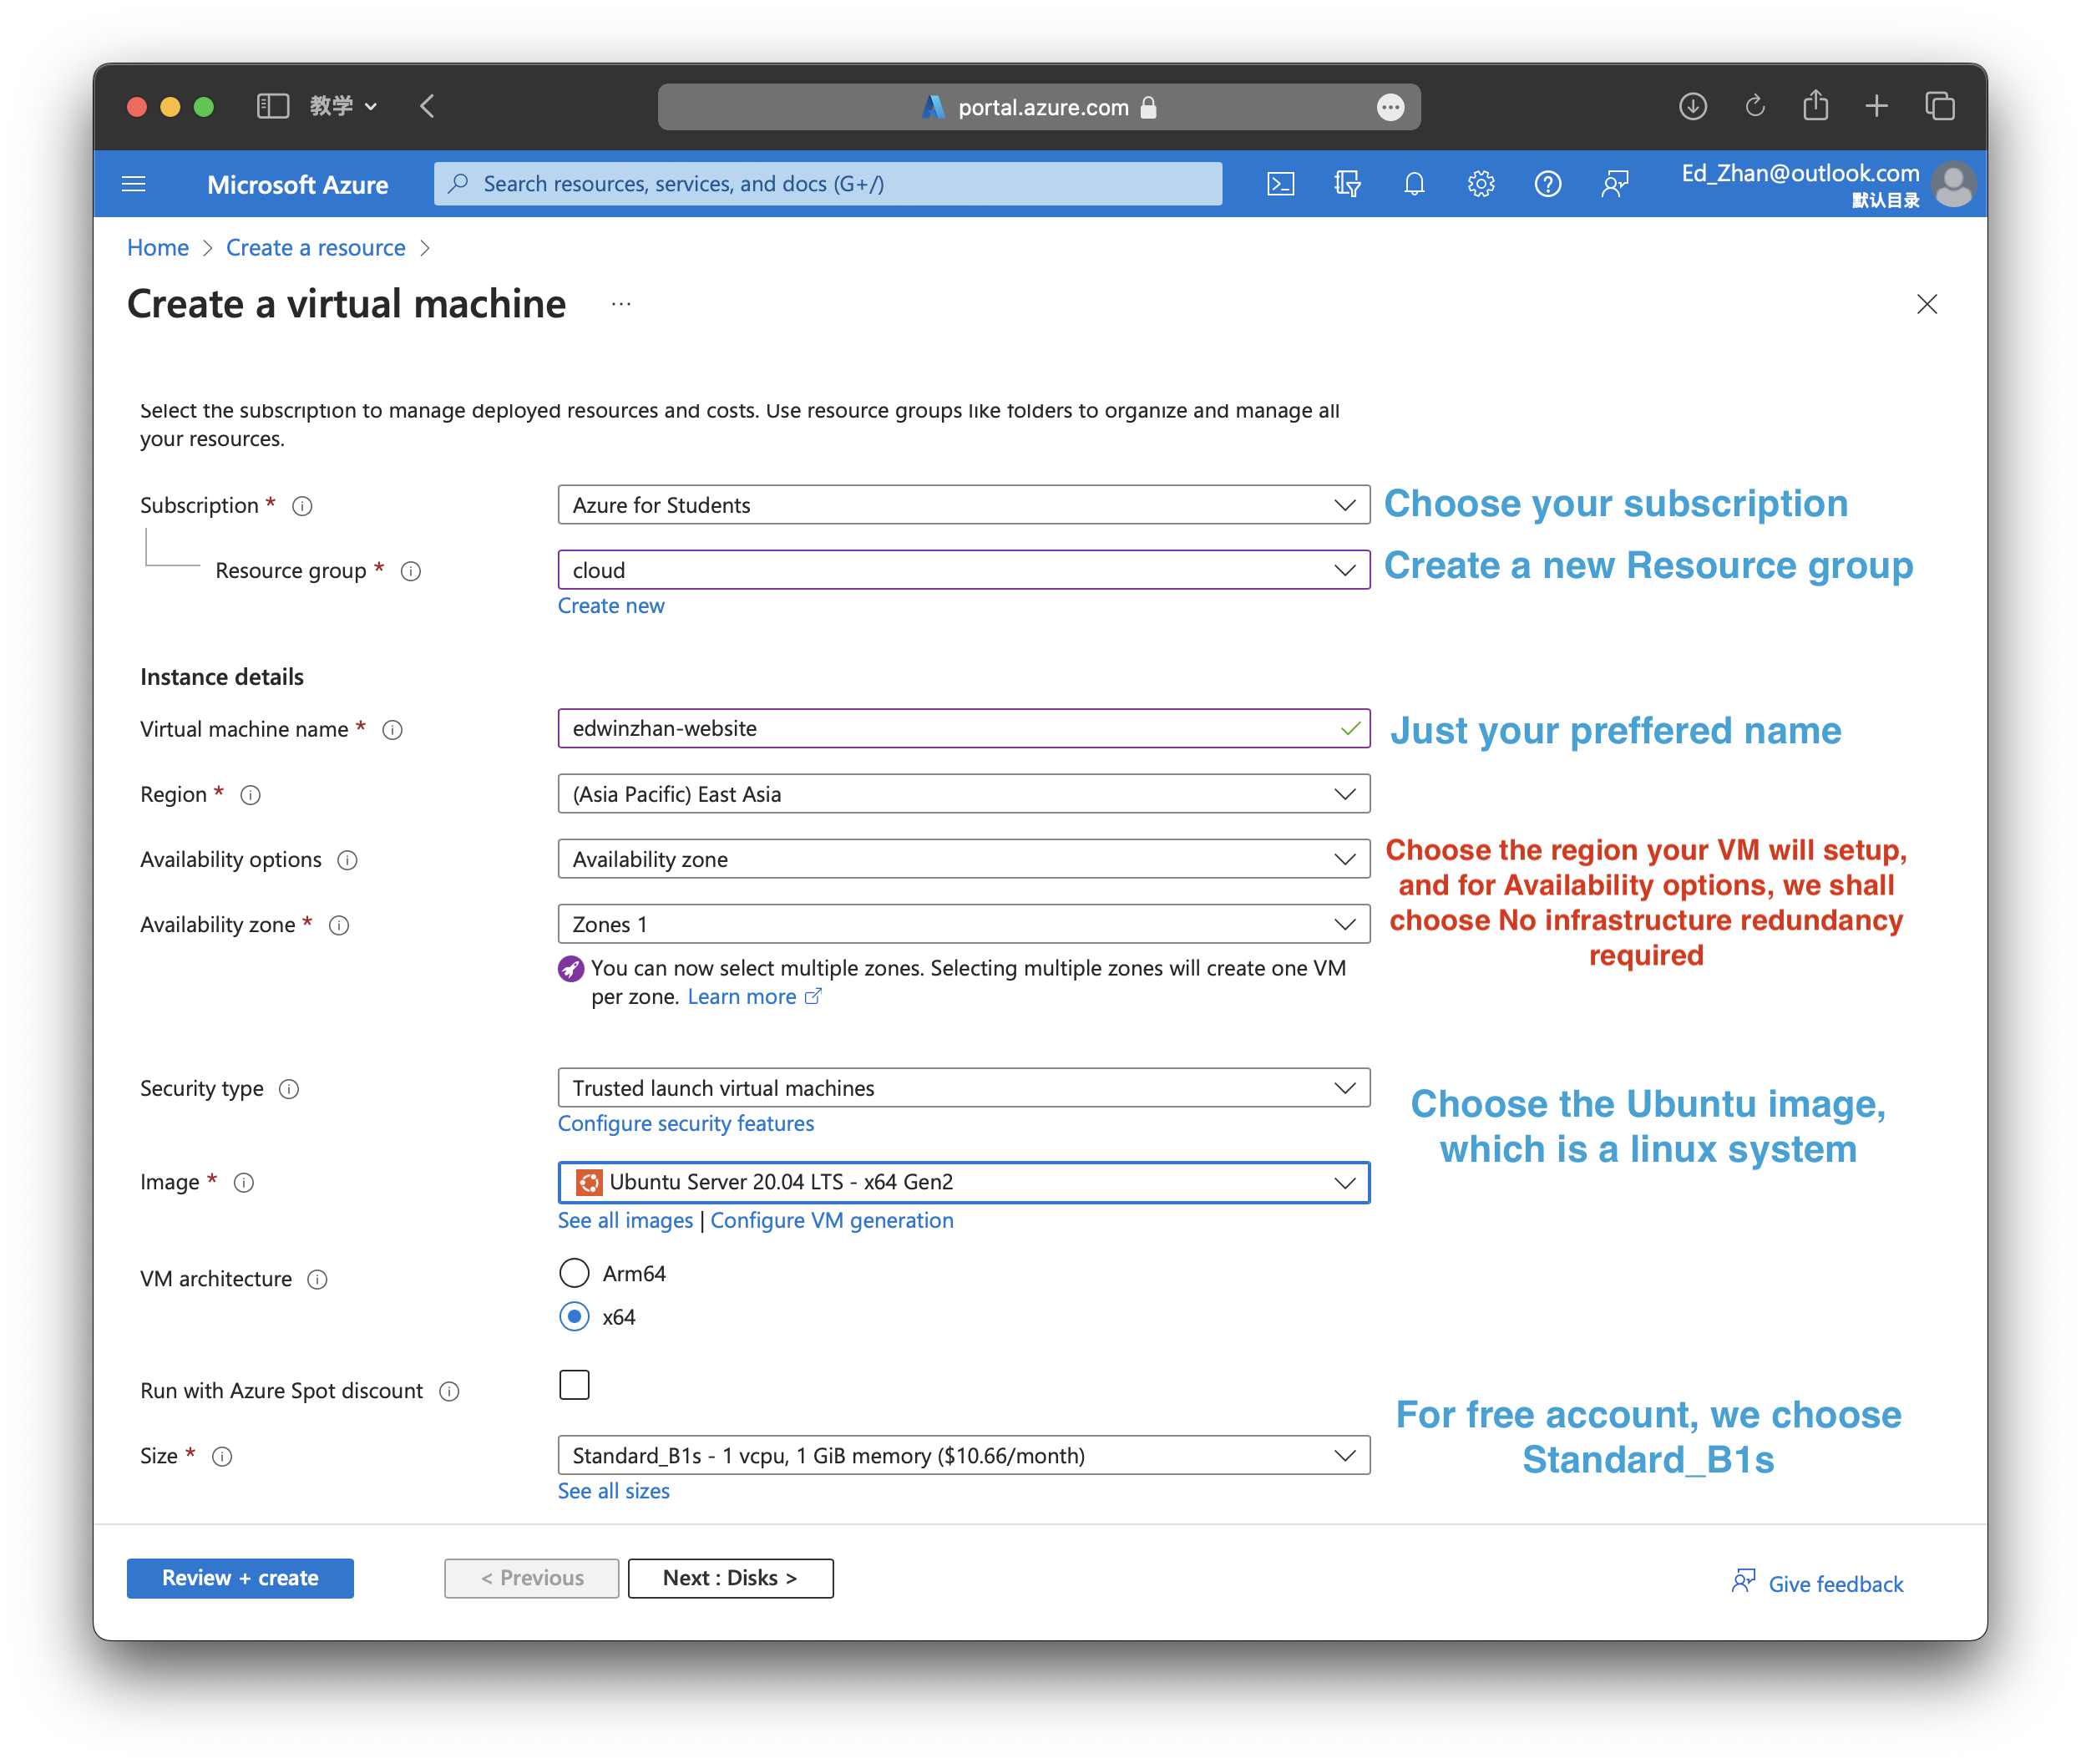
Here we should choose Authentication type as SSH public key, which is a encoded key for us, so we can have a remote connection with cloud virtual machine. The Username is the username of this machine, and the Key pair name is the name of your ssh key, they have tow files. Then go to Disks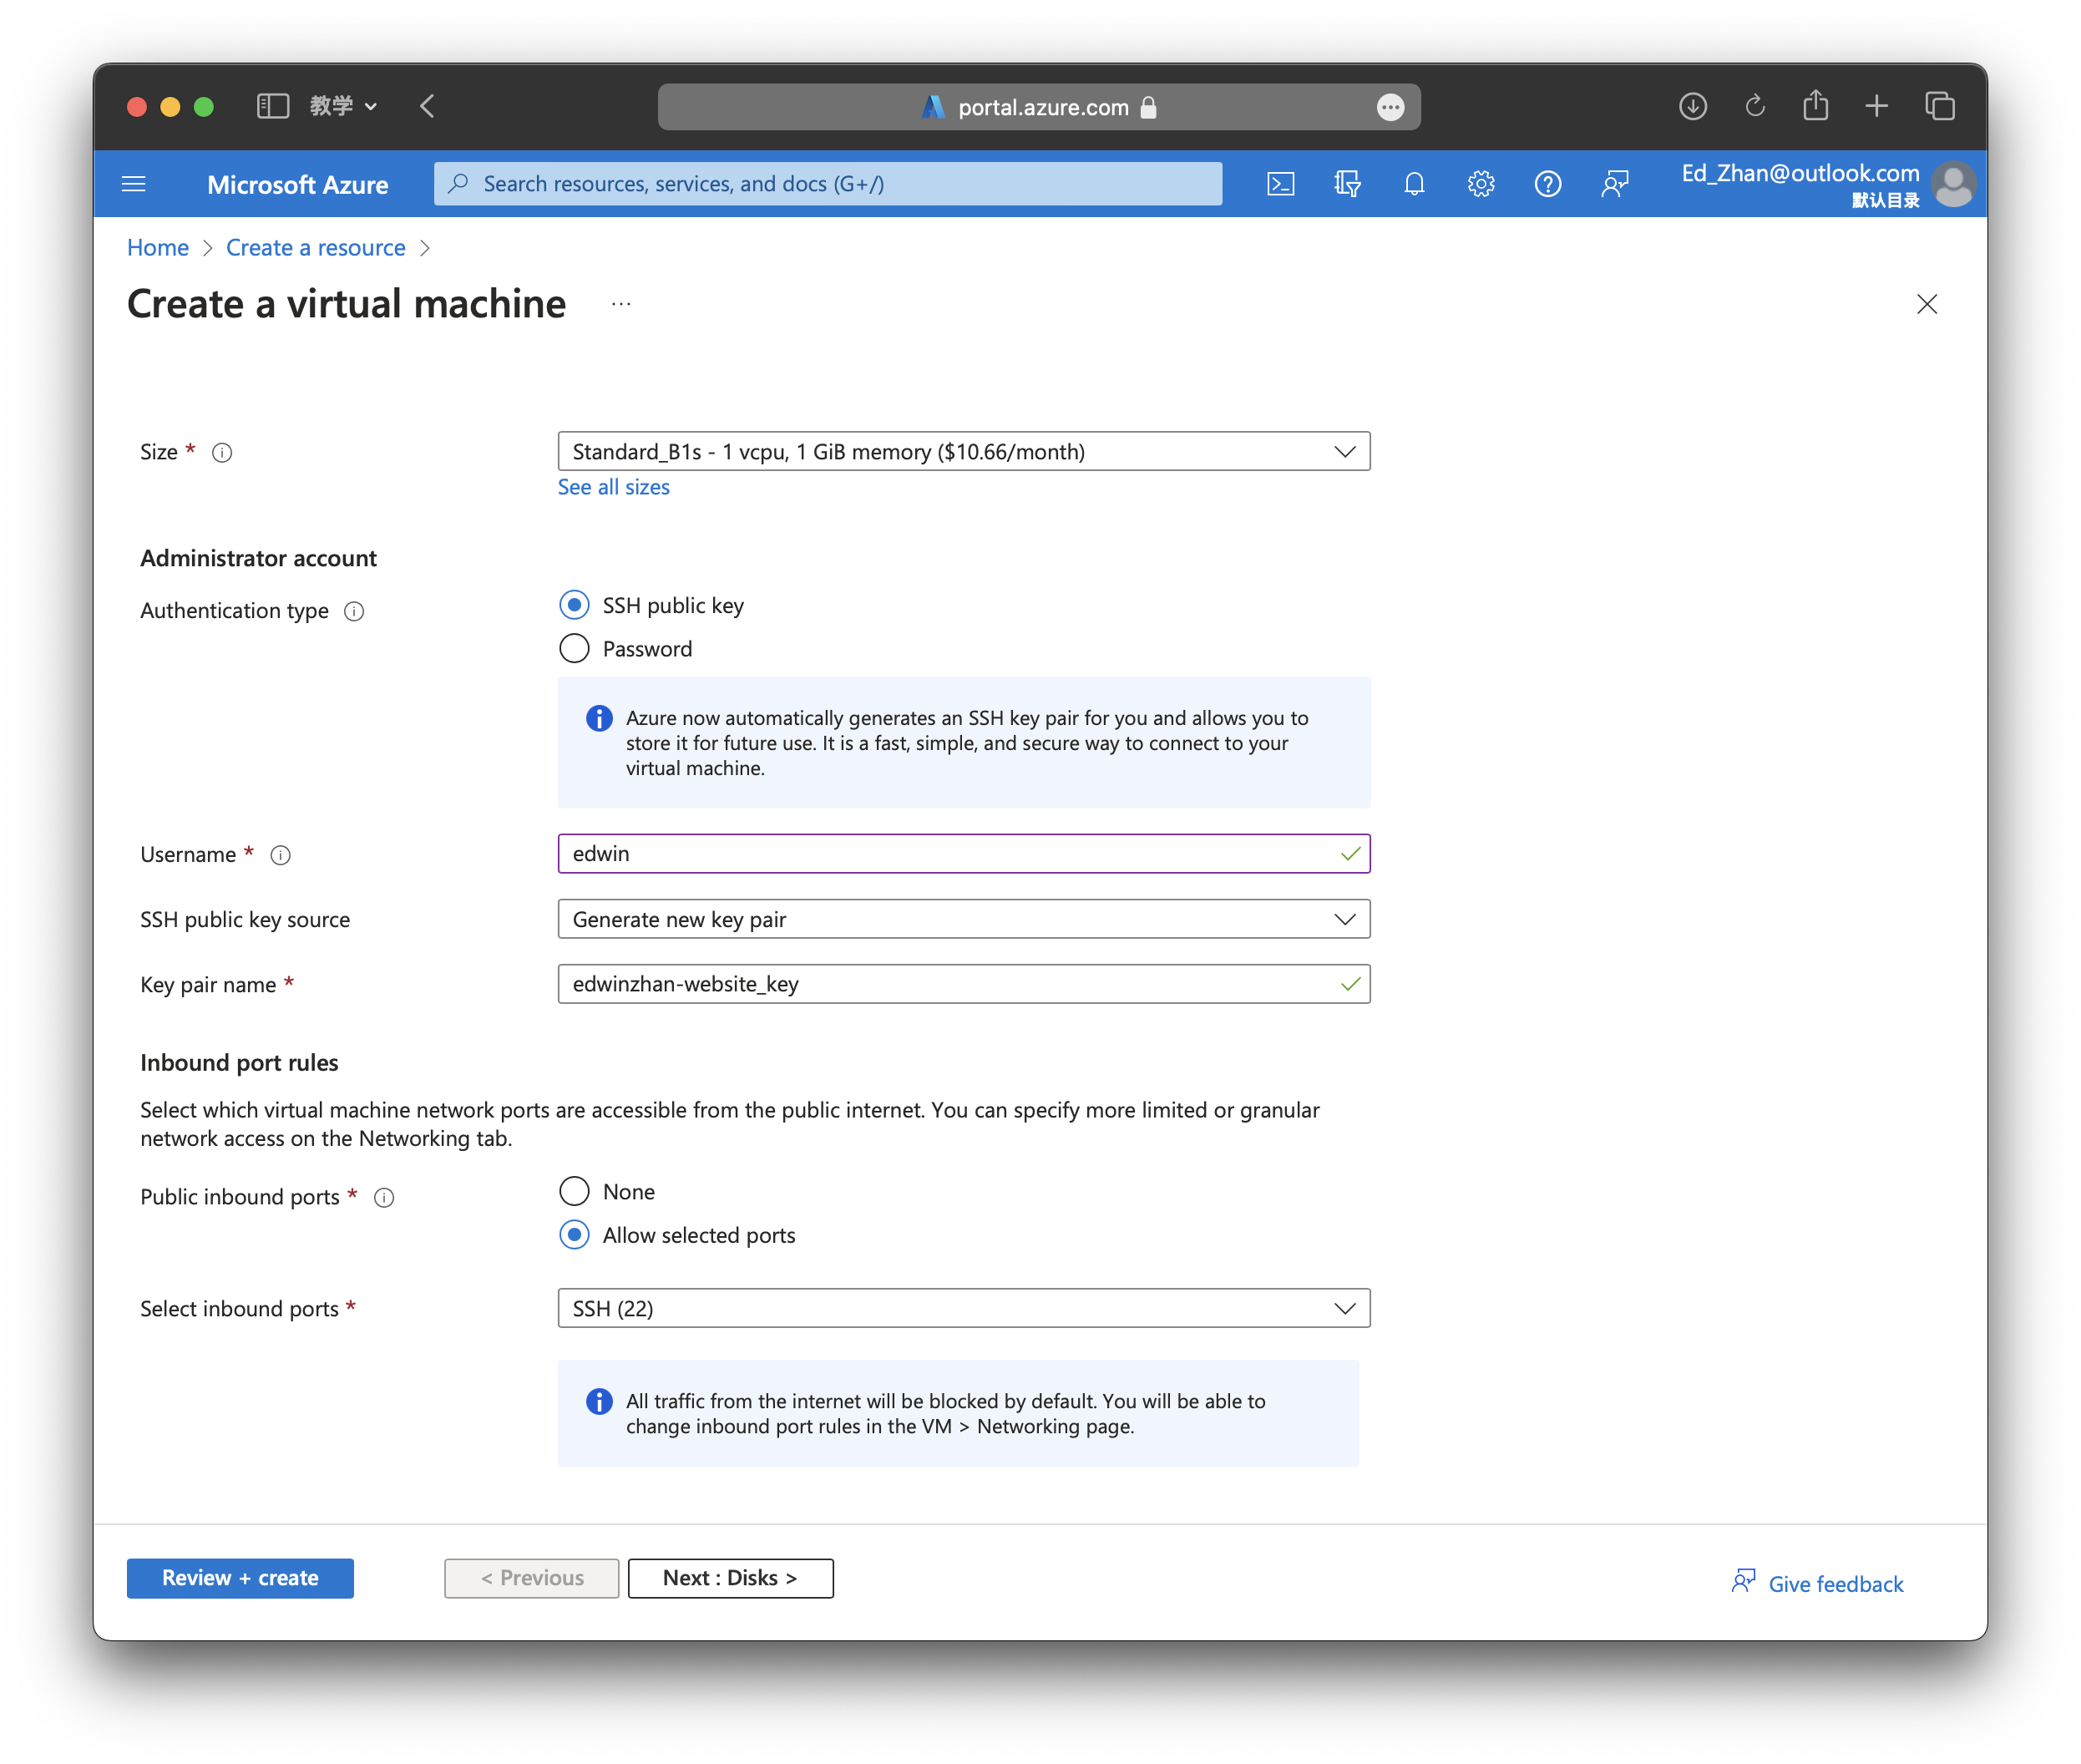
For free account, we can choose 64GiB P6 disk, which is free for free account.Extra spaces may have extra costs 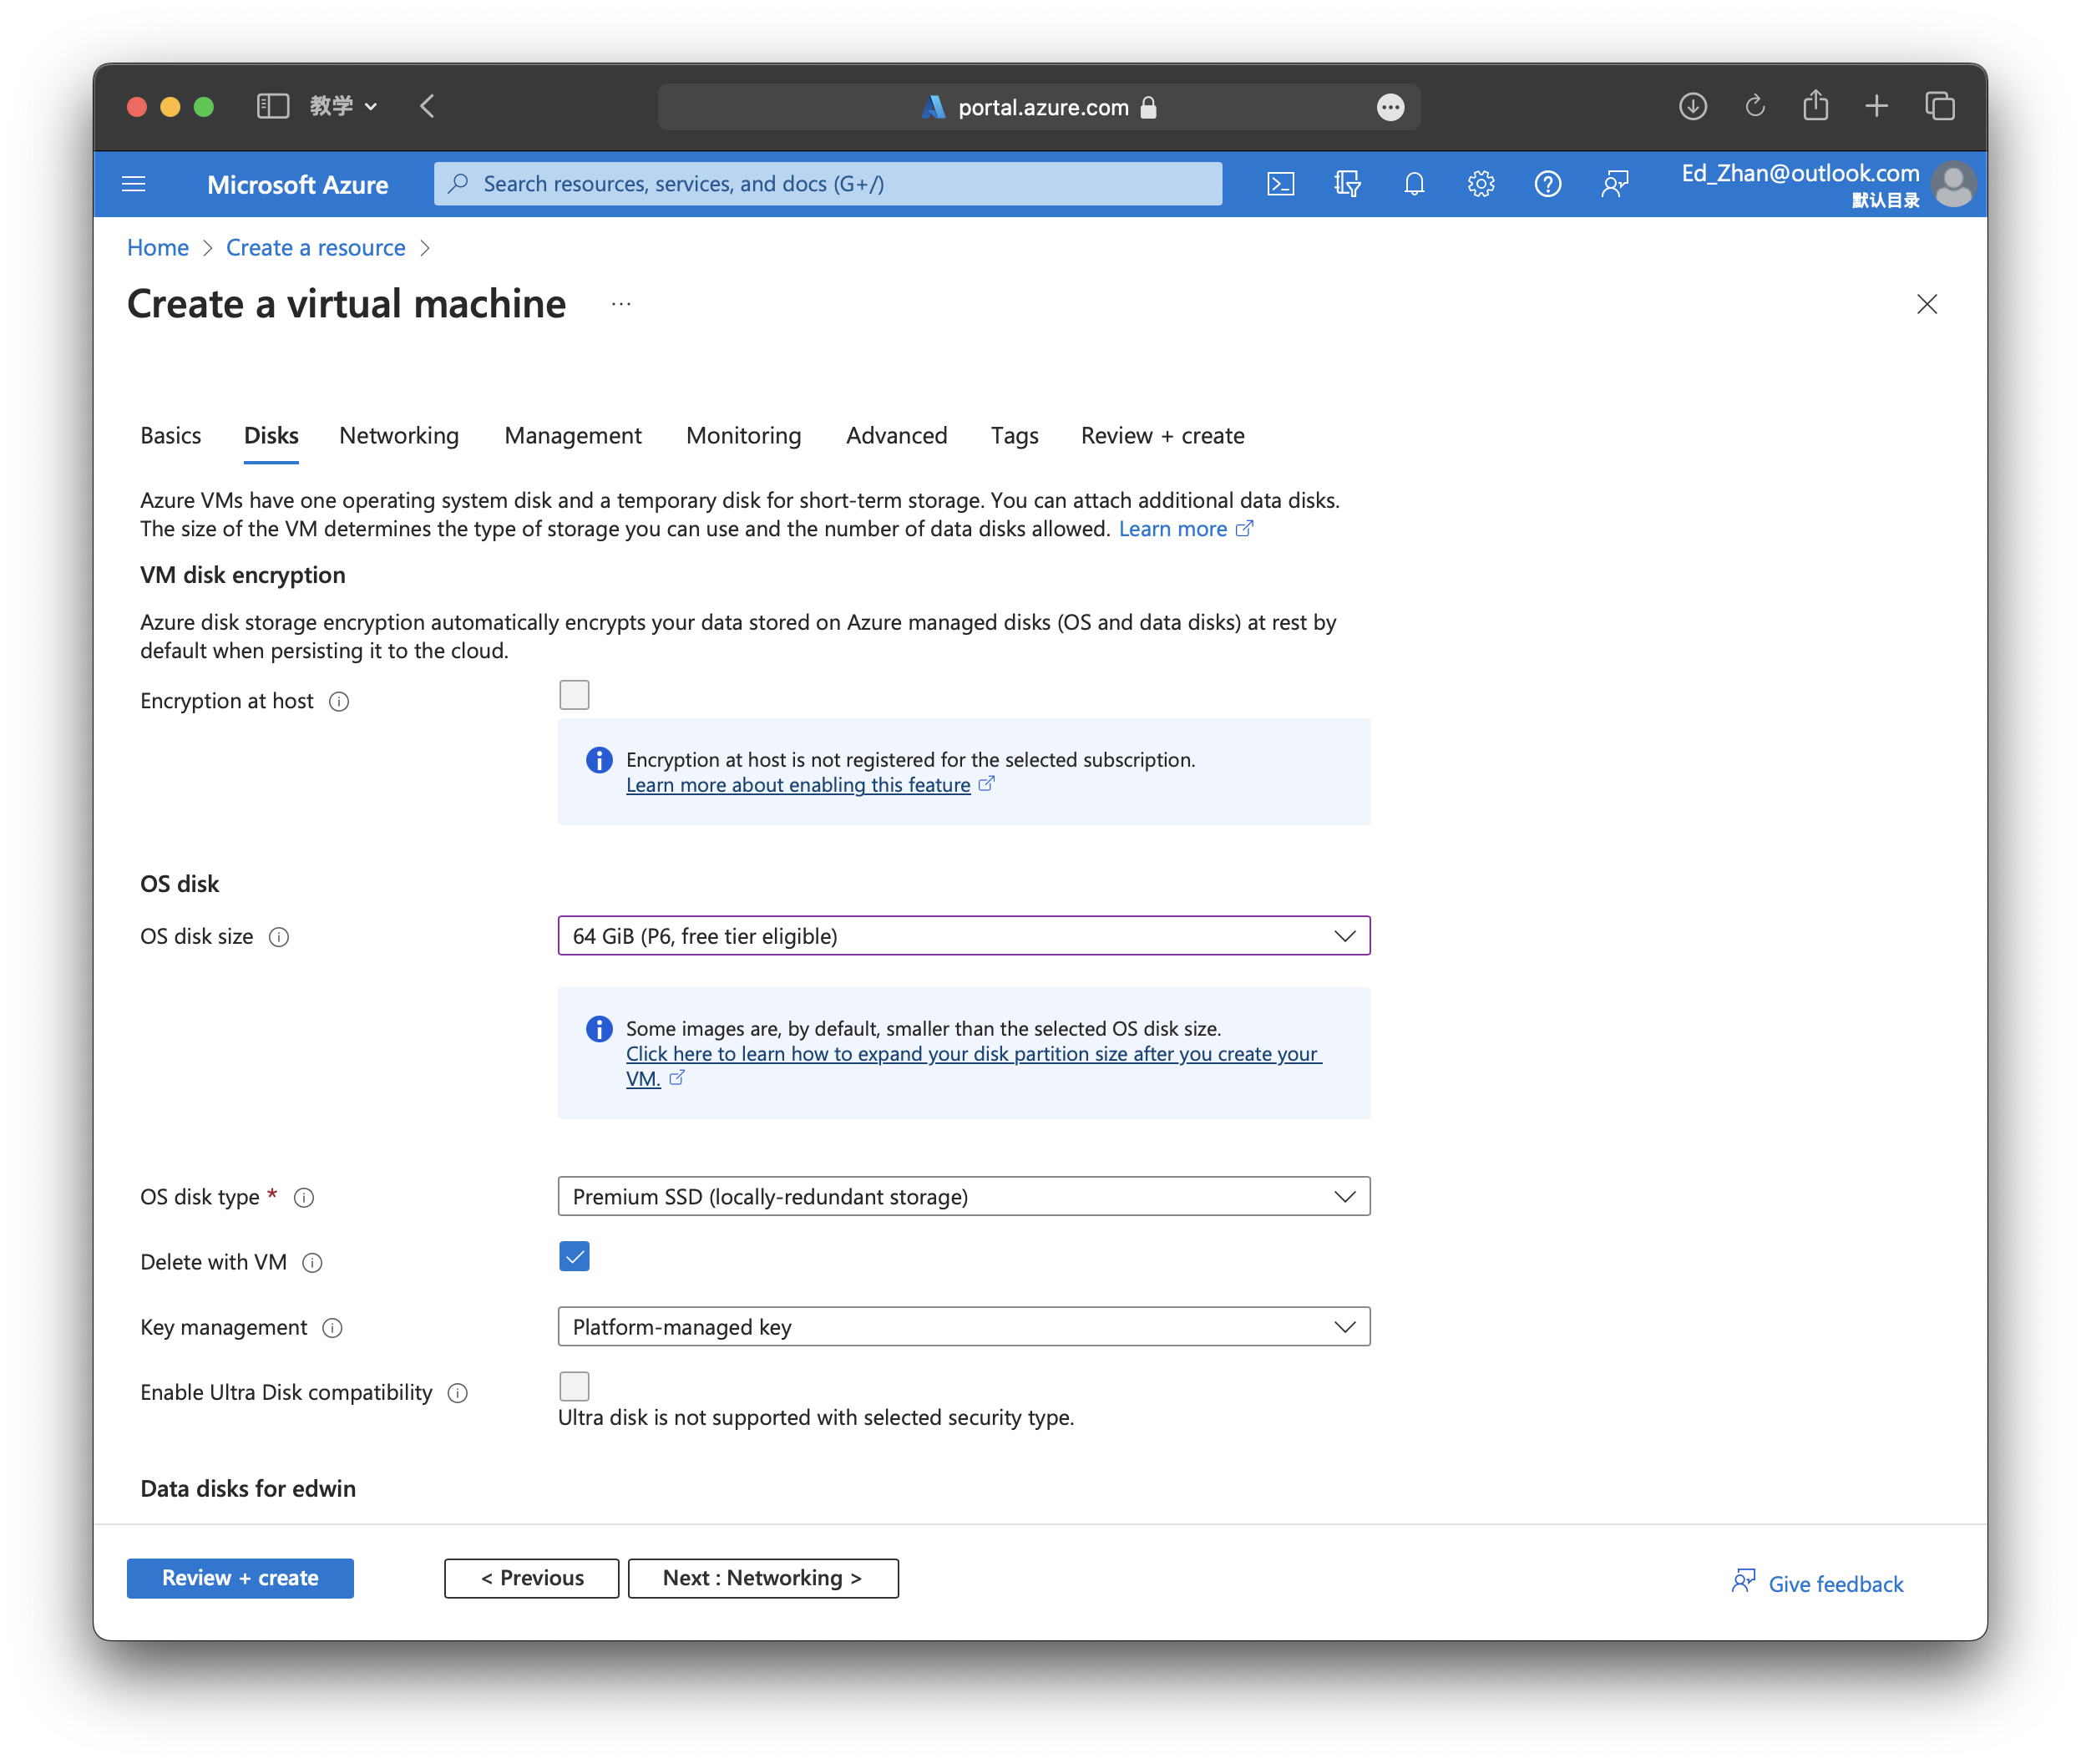
Here, we will create a new Virtual network click Create new. and input your prefferd name, click OK. 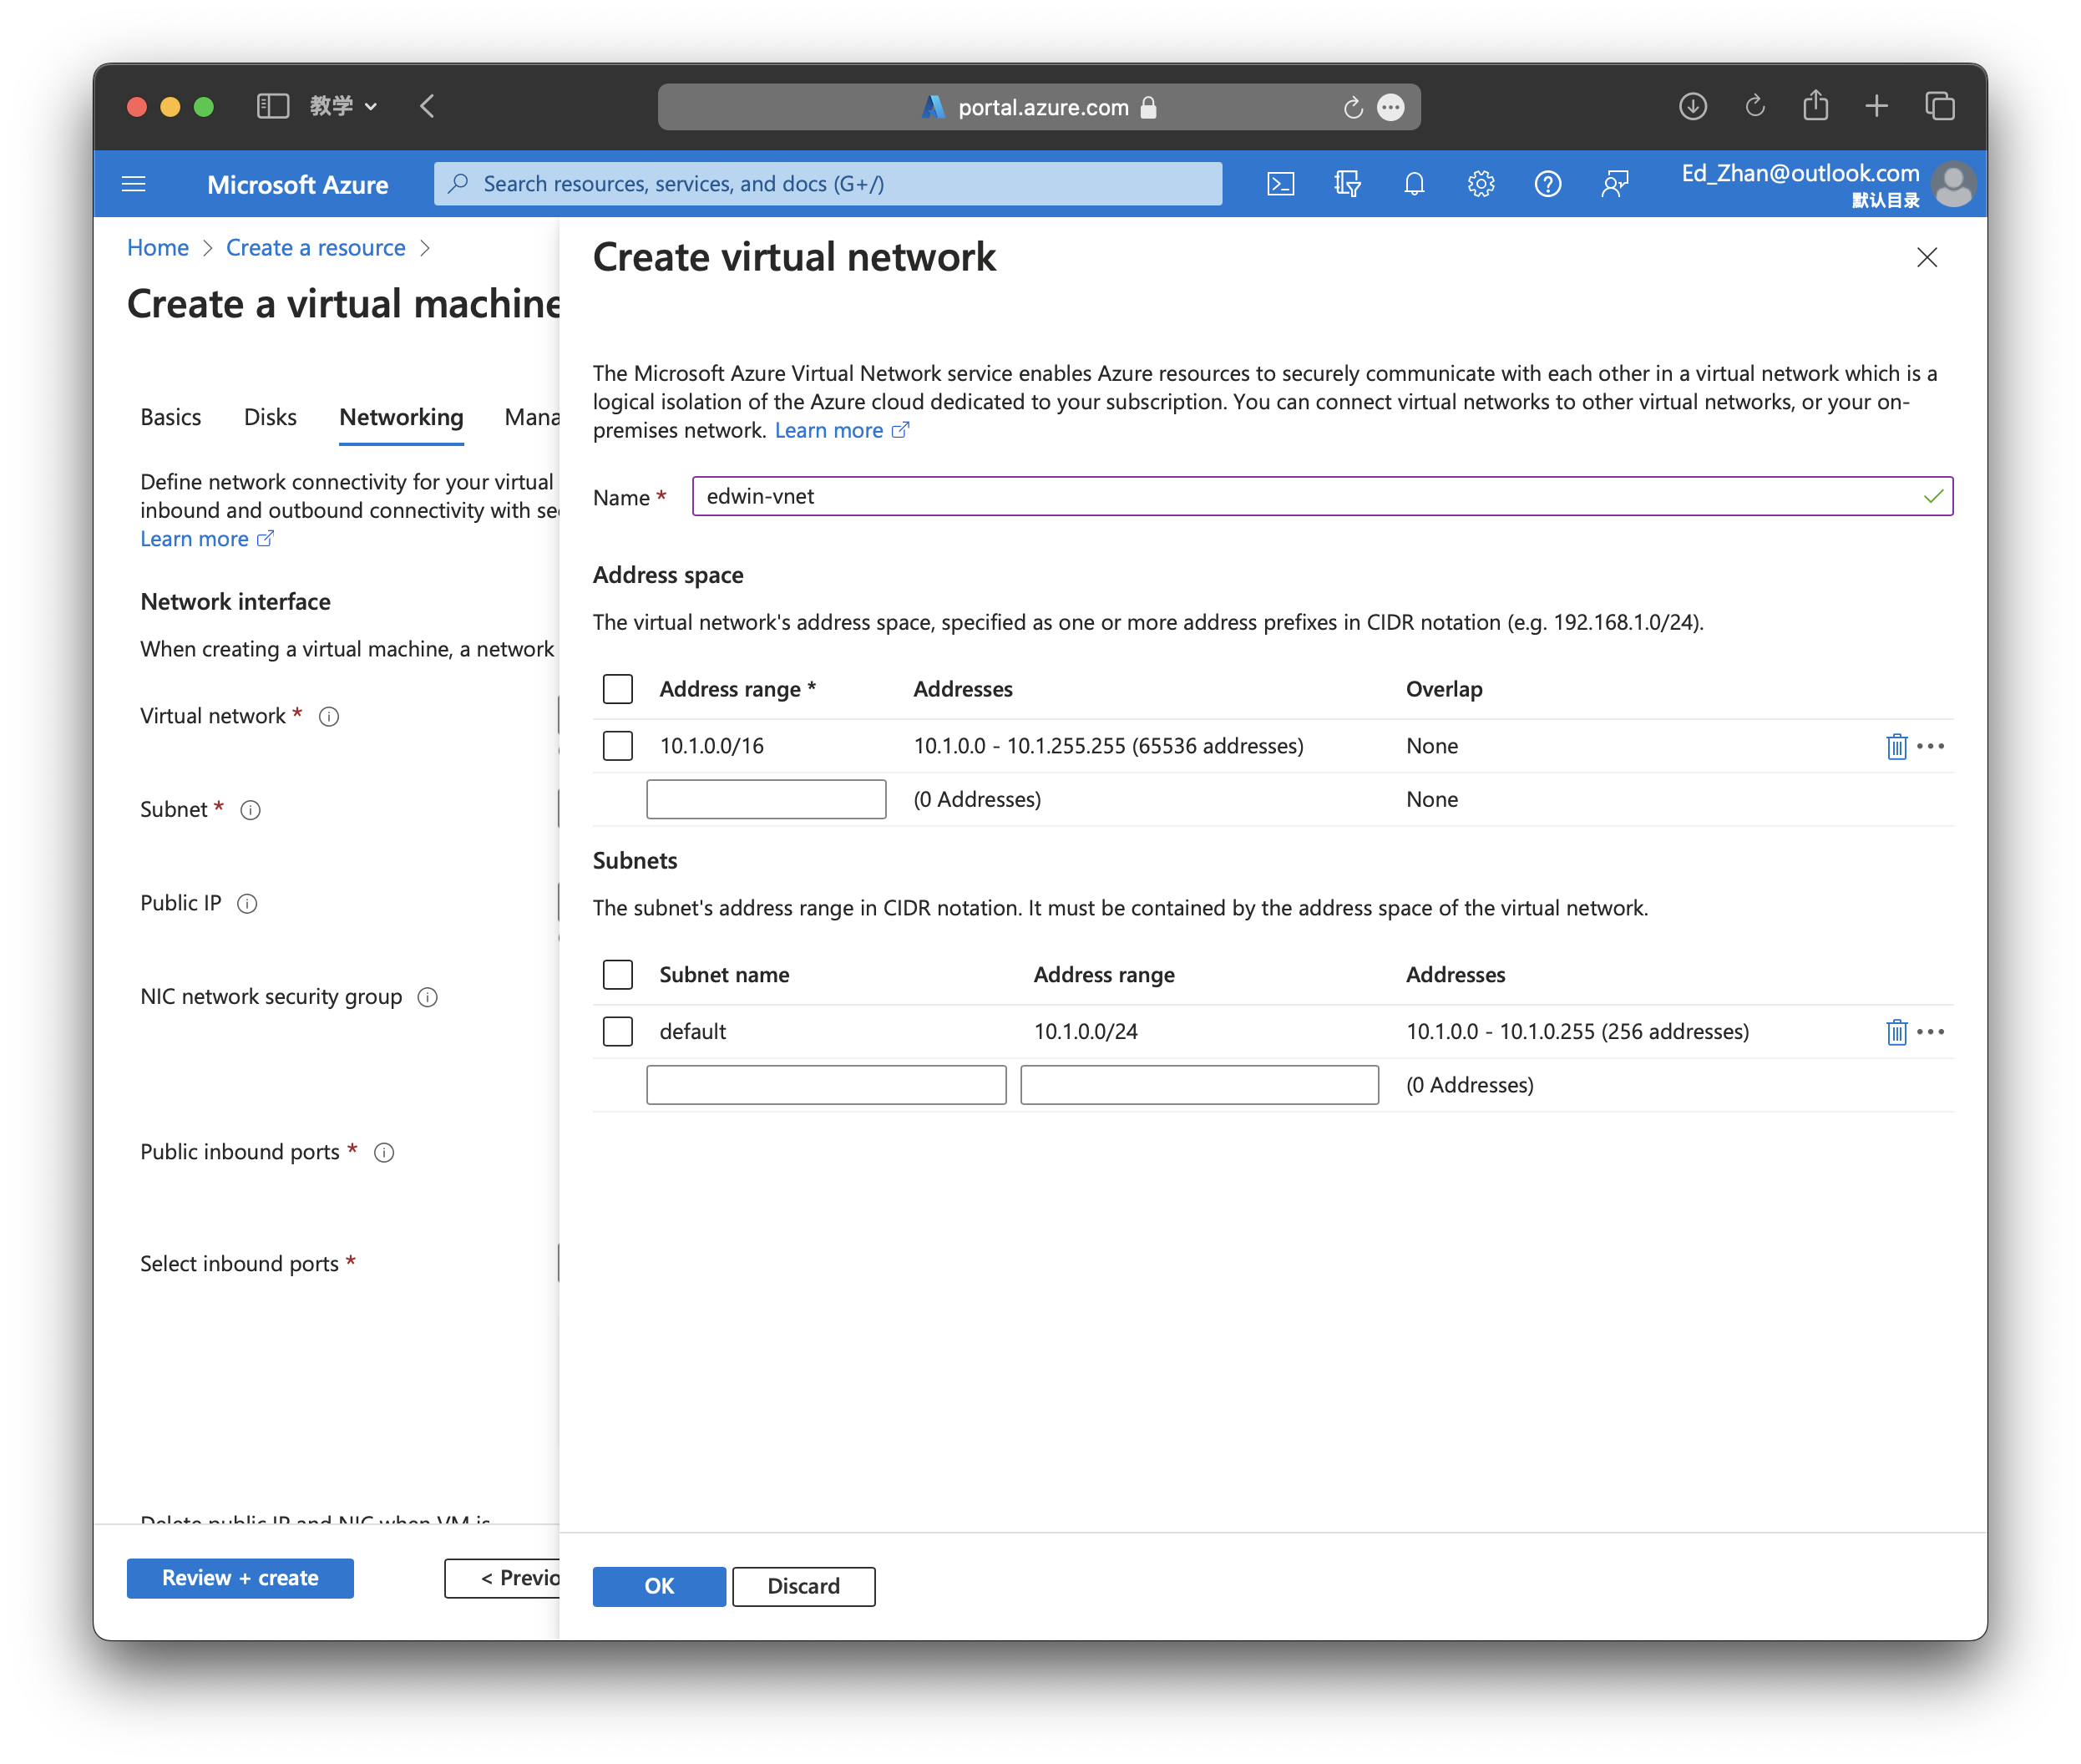
Here, we will create a Public IP address, select Basic and Dynamic. Don't worry about the dynamic IP address; Microsoft typically won't change it. Using static Public IP address will have extra costs. (If the option is disabled, you should check your Availability options in Baiscs) 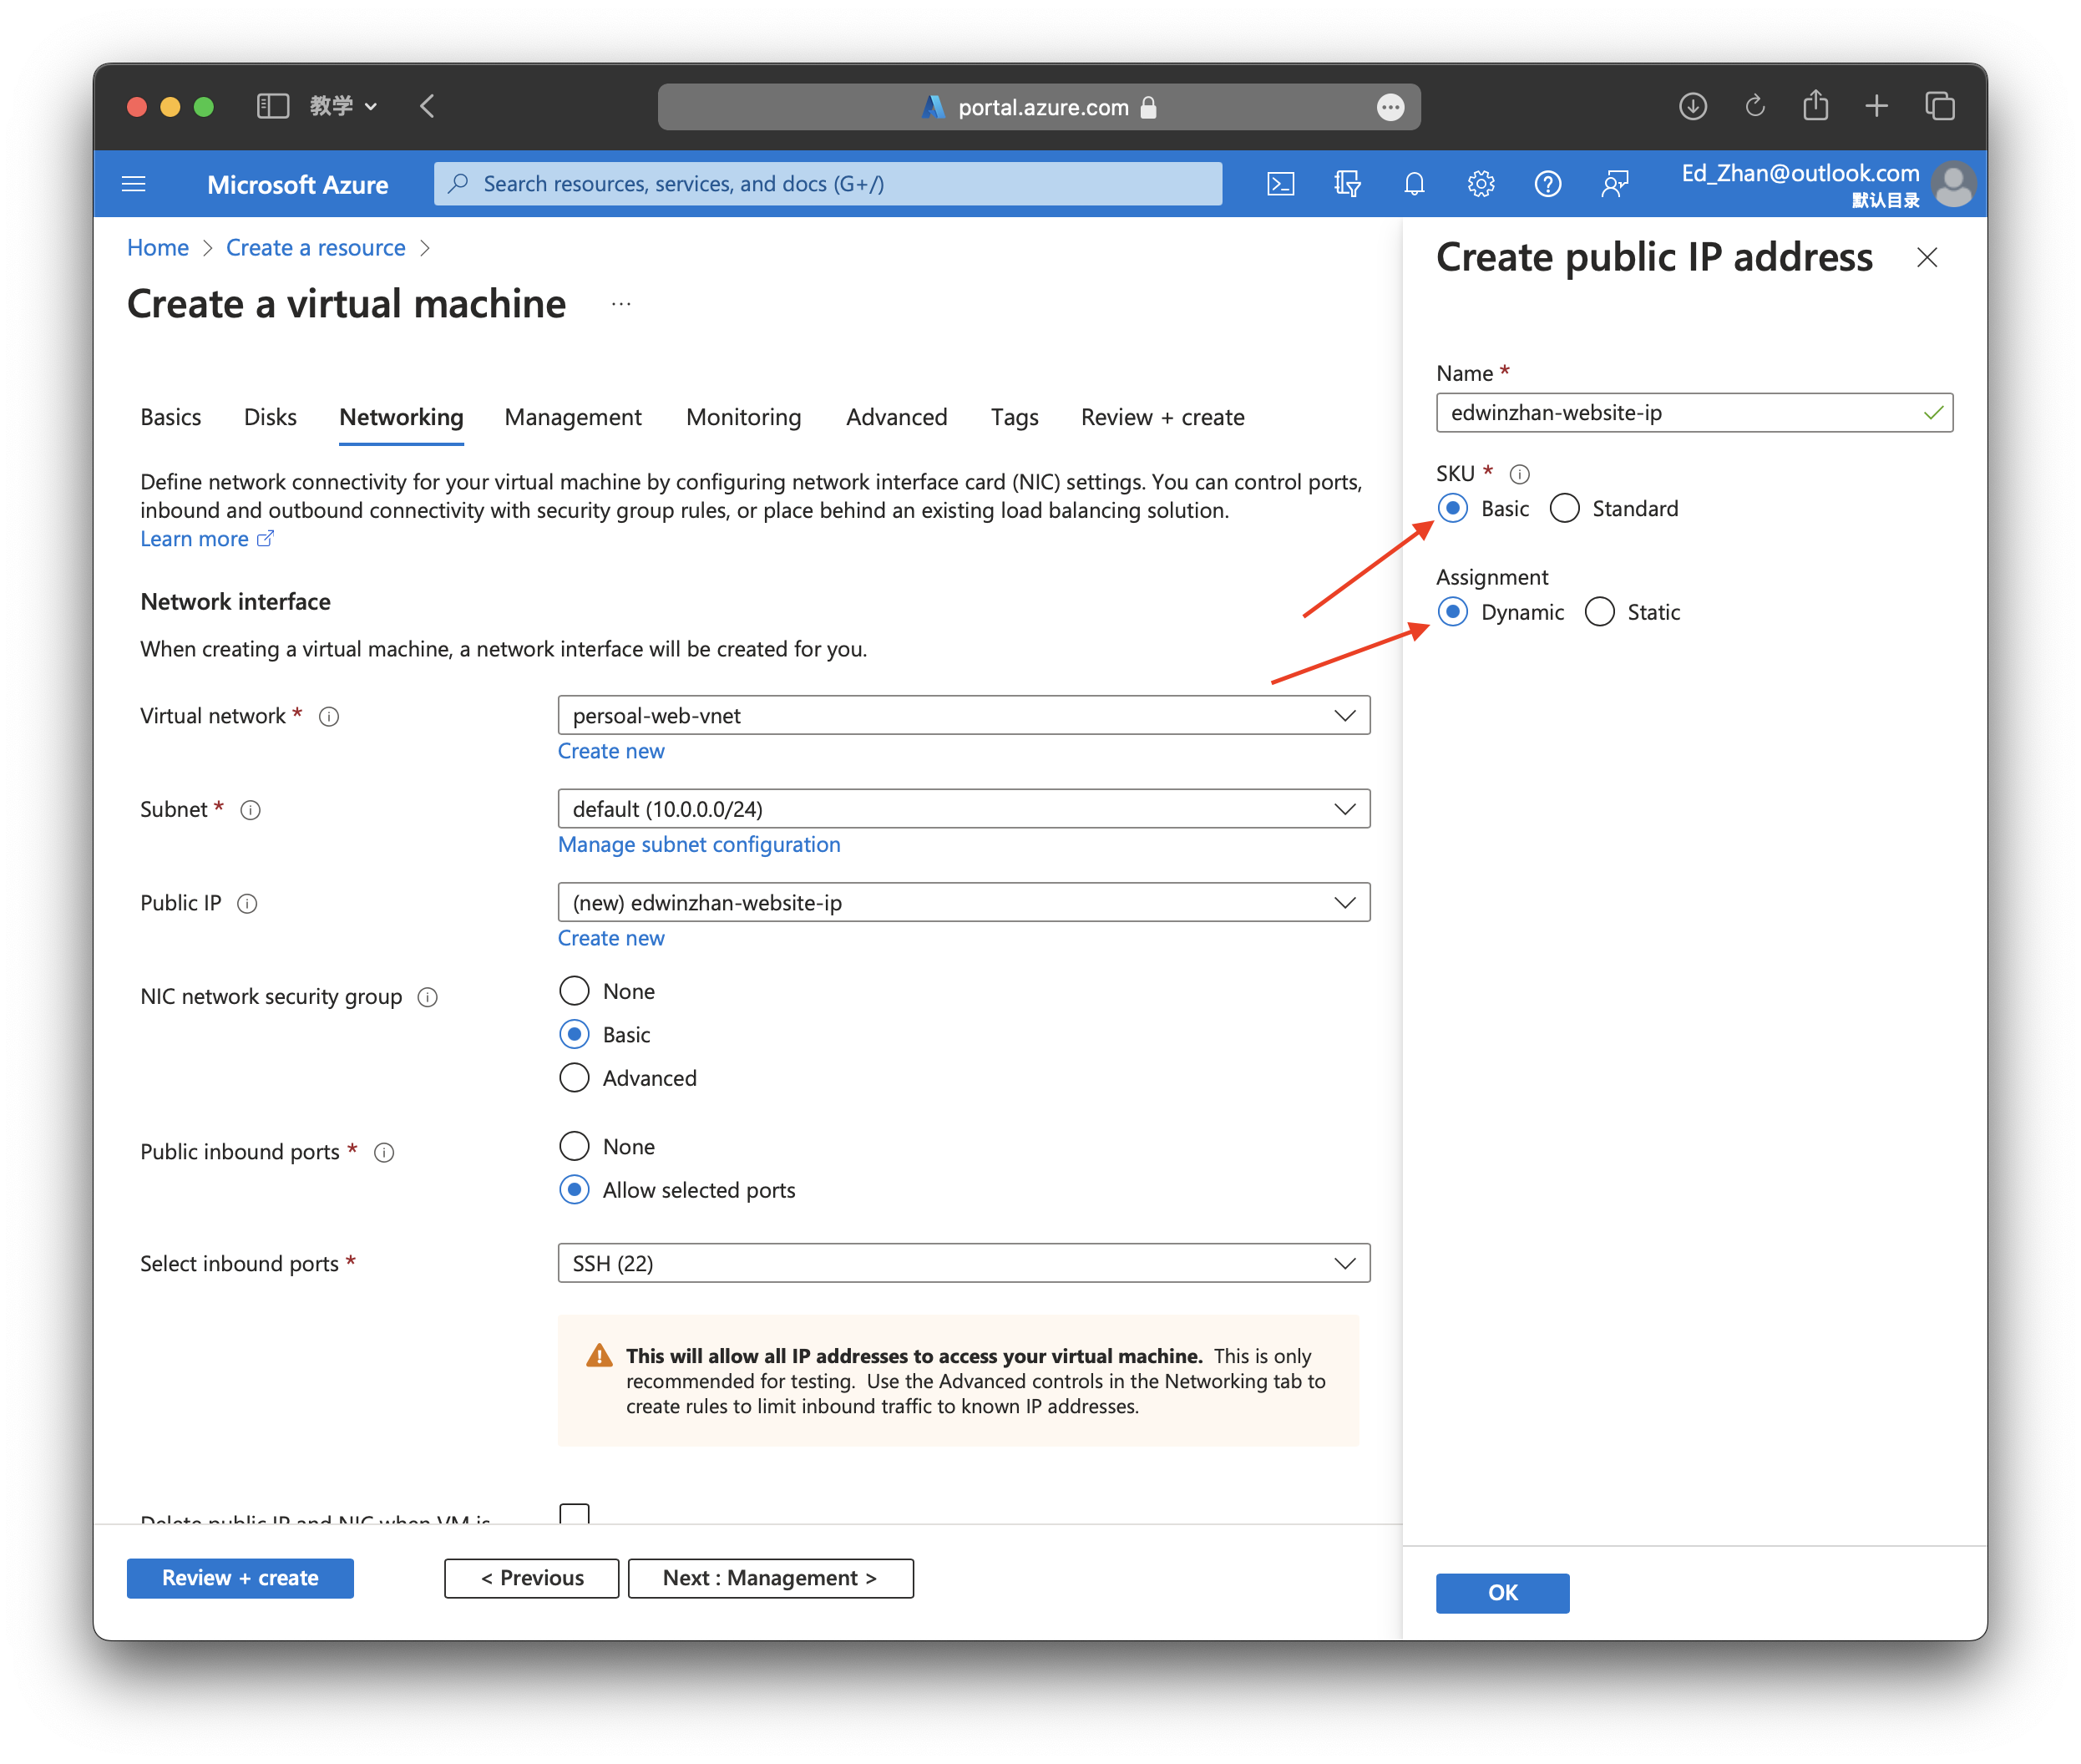
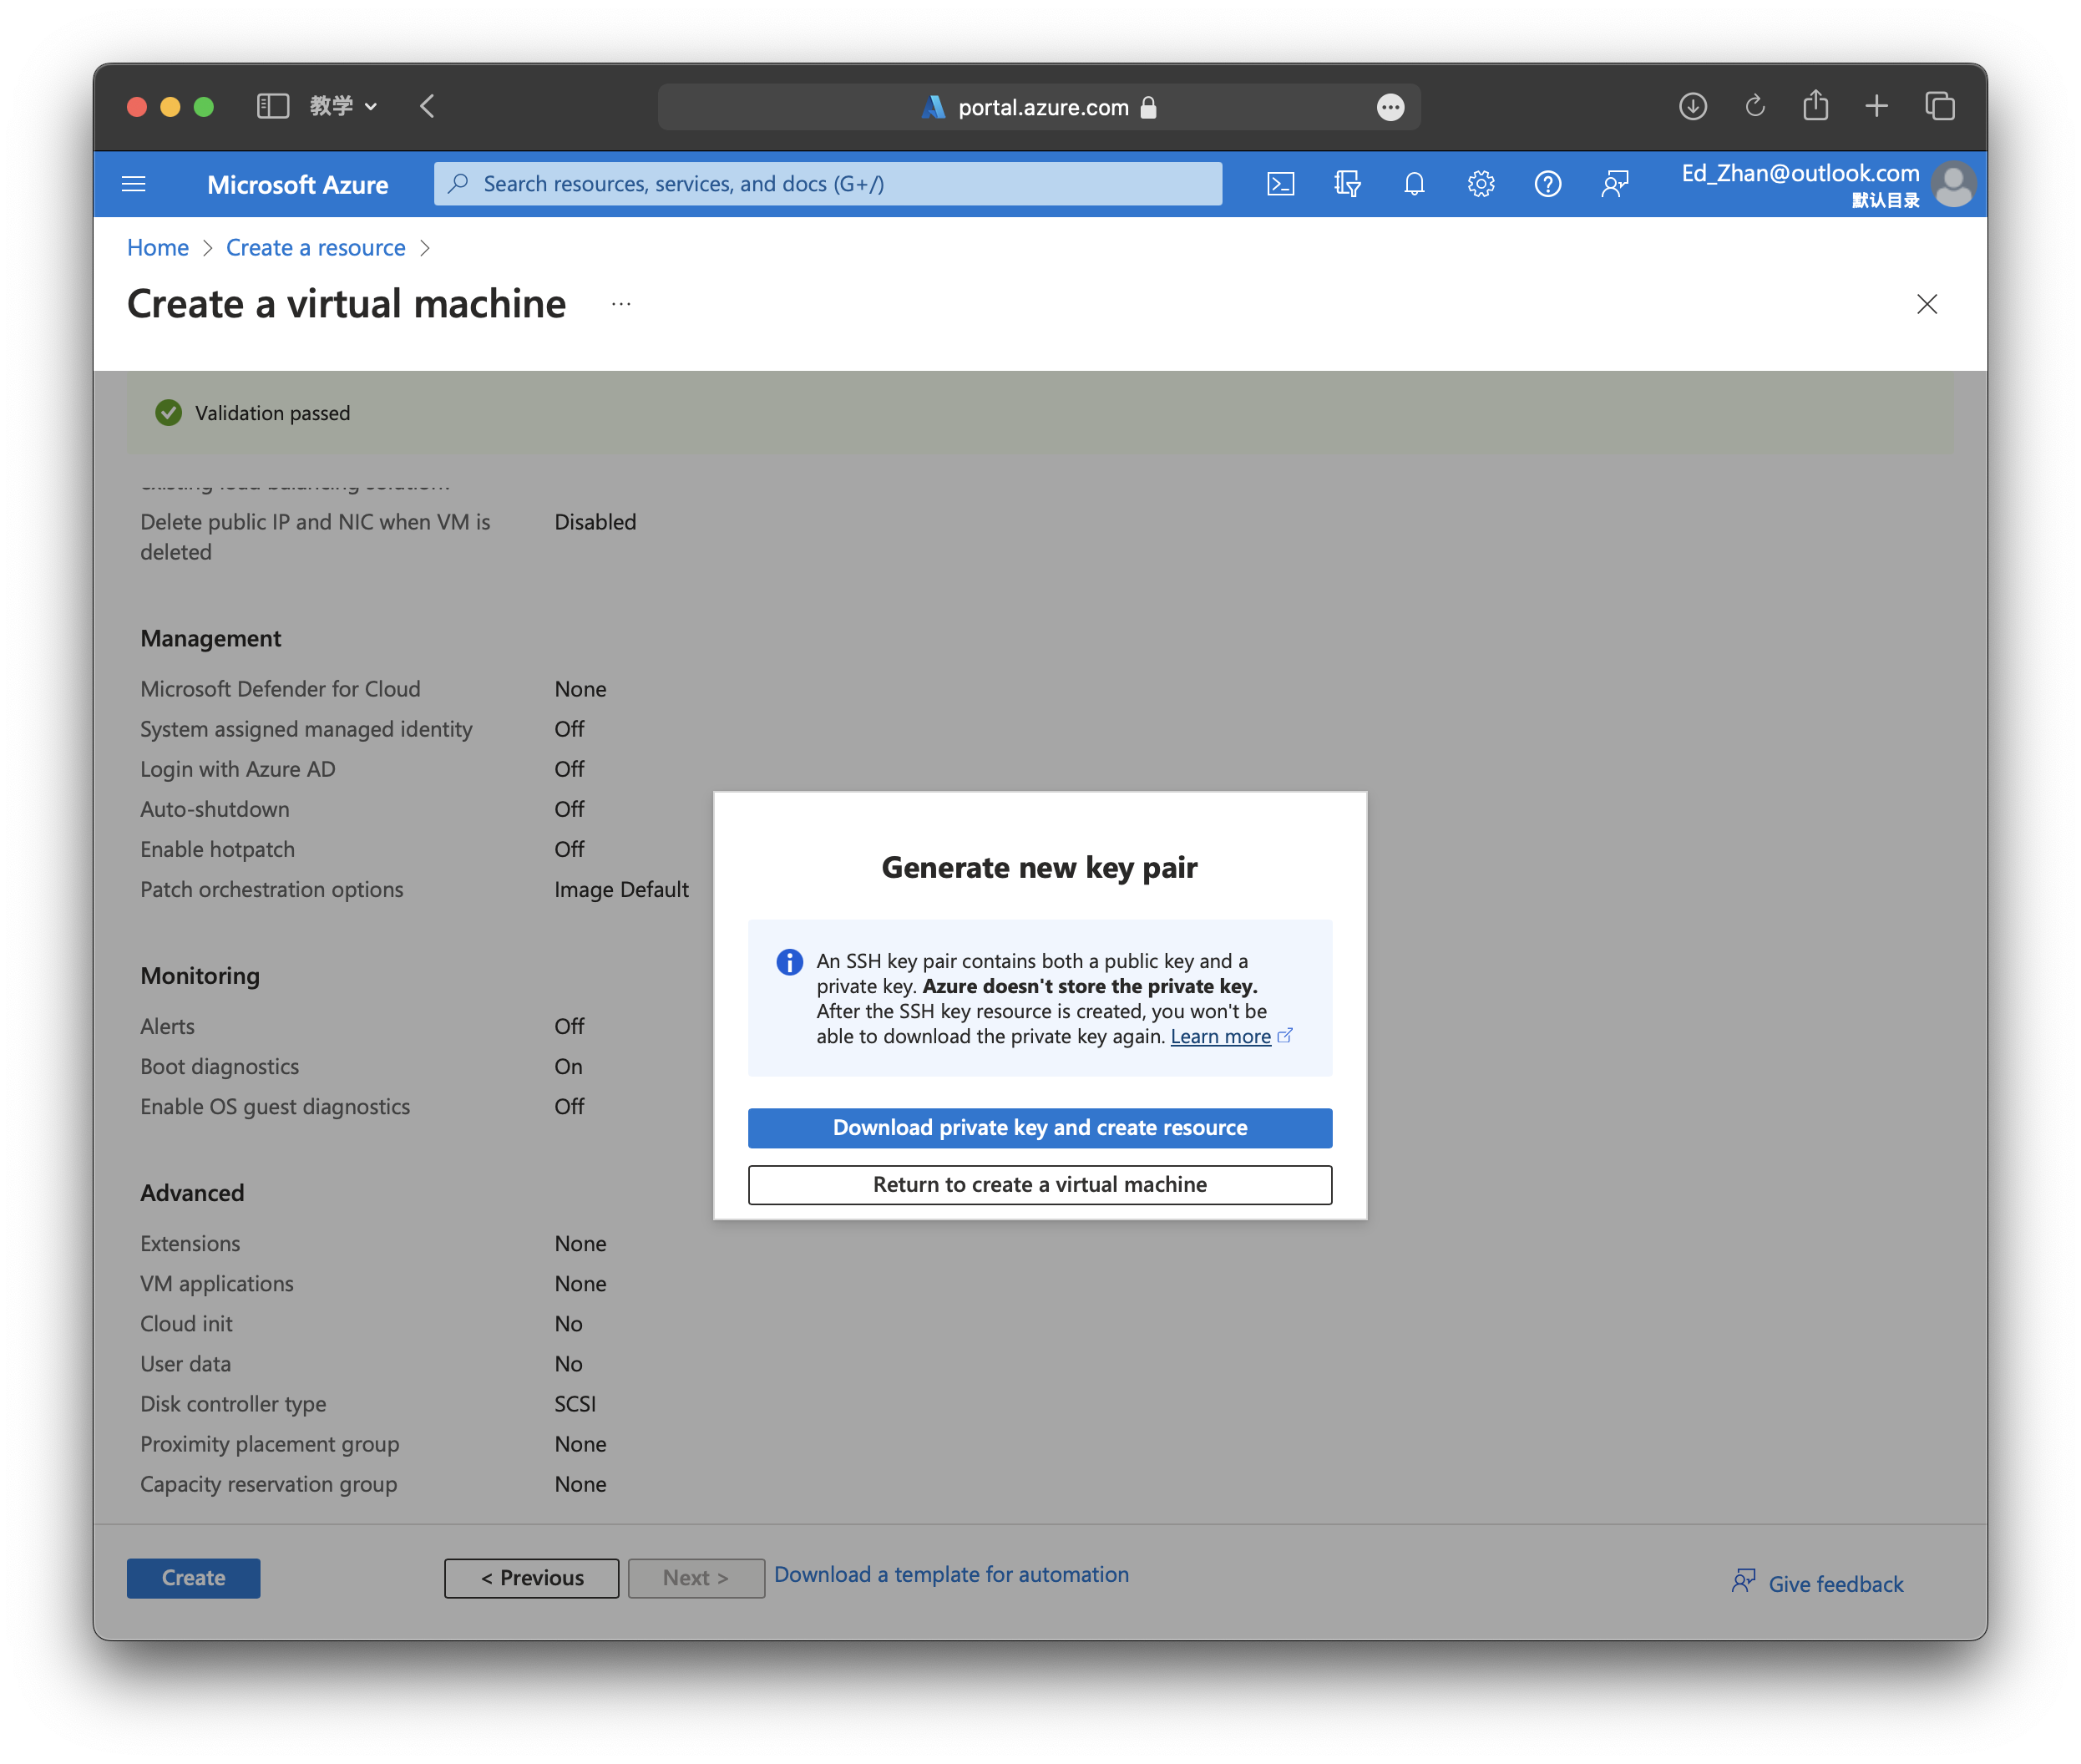
OK, well done. We just finish some basic settings for our VM, which is enough, you can learn other settings from the Internet or Microsoft official. In here, we can just click Review + create button at the bottom left.
:::IMPORTANT ** Note: Download Your SSH Key!** :::
After creation finished, go to Resources and click your Virtual Machine, the Overview Page should like this: 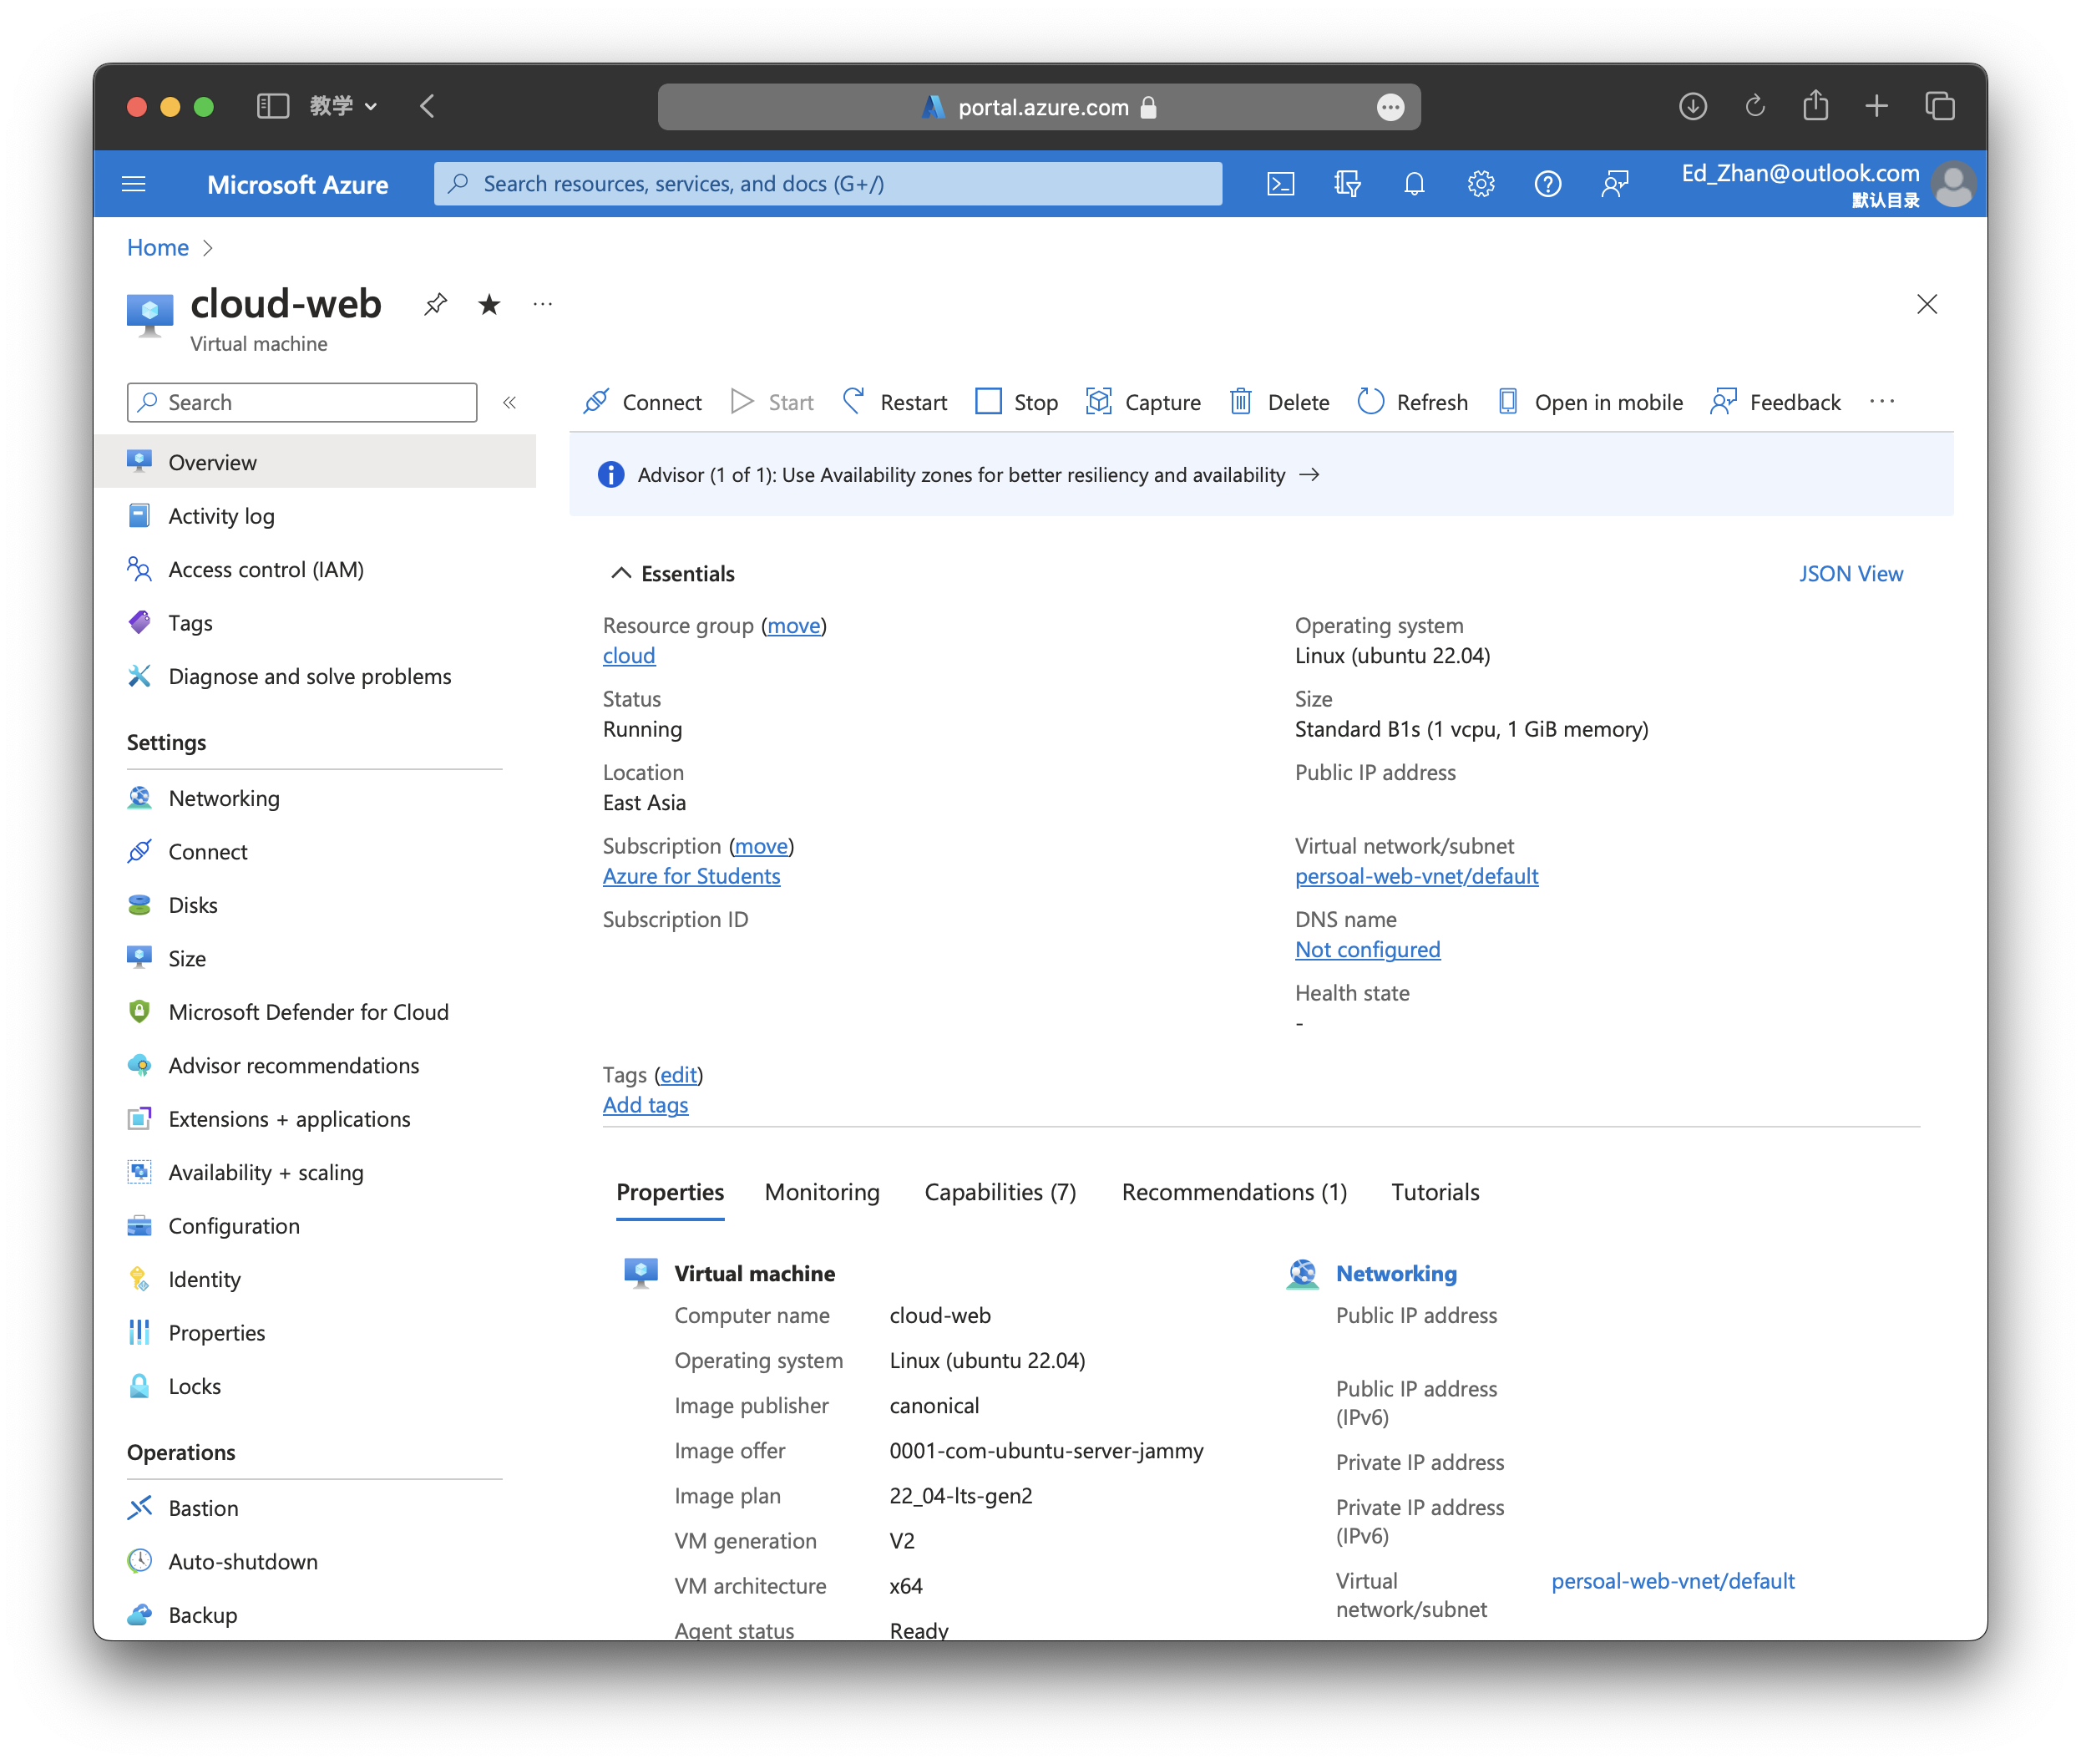
INFO
We just finish creating the VM!
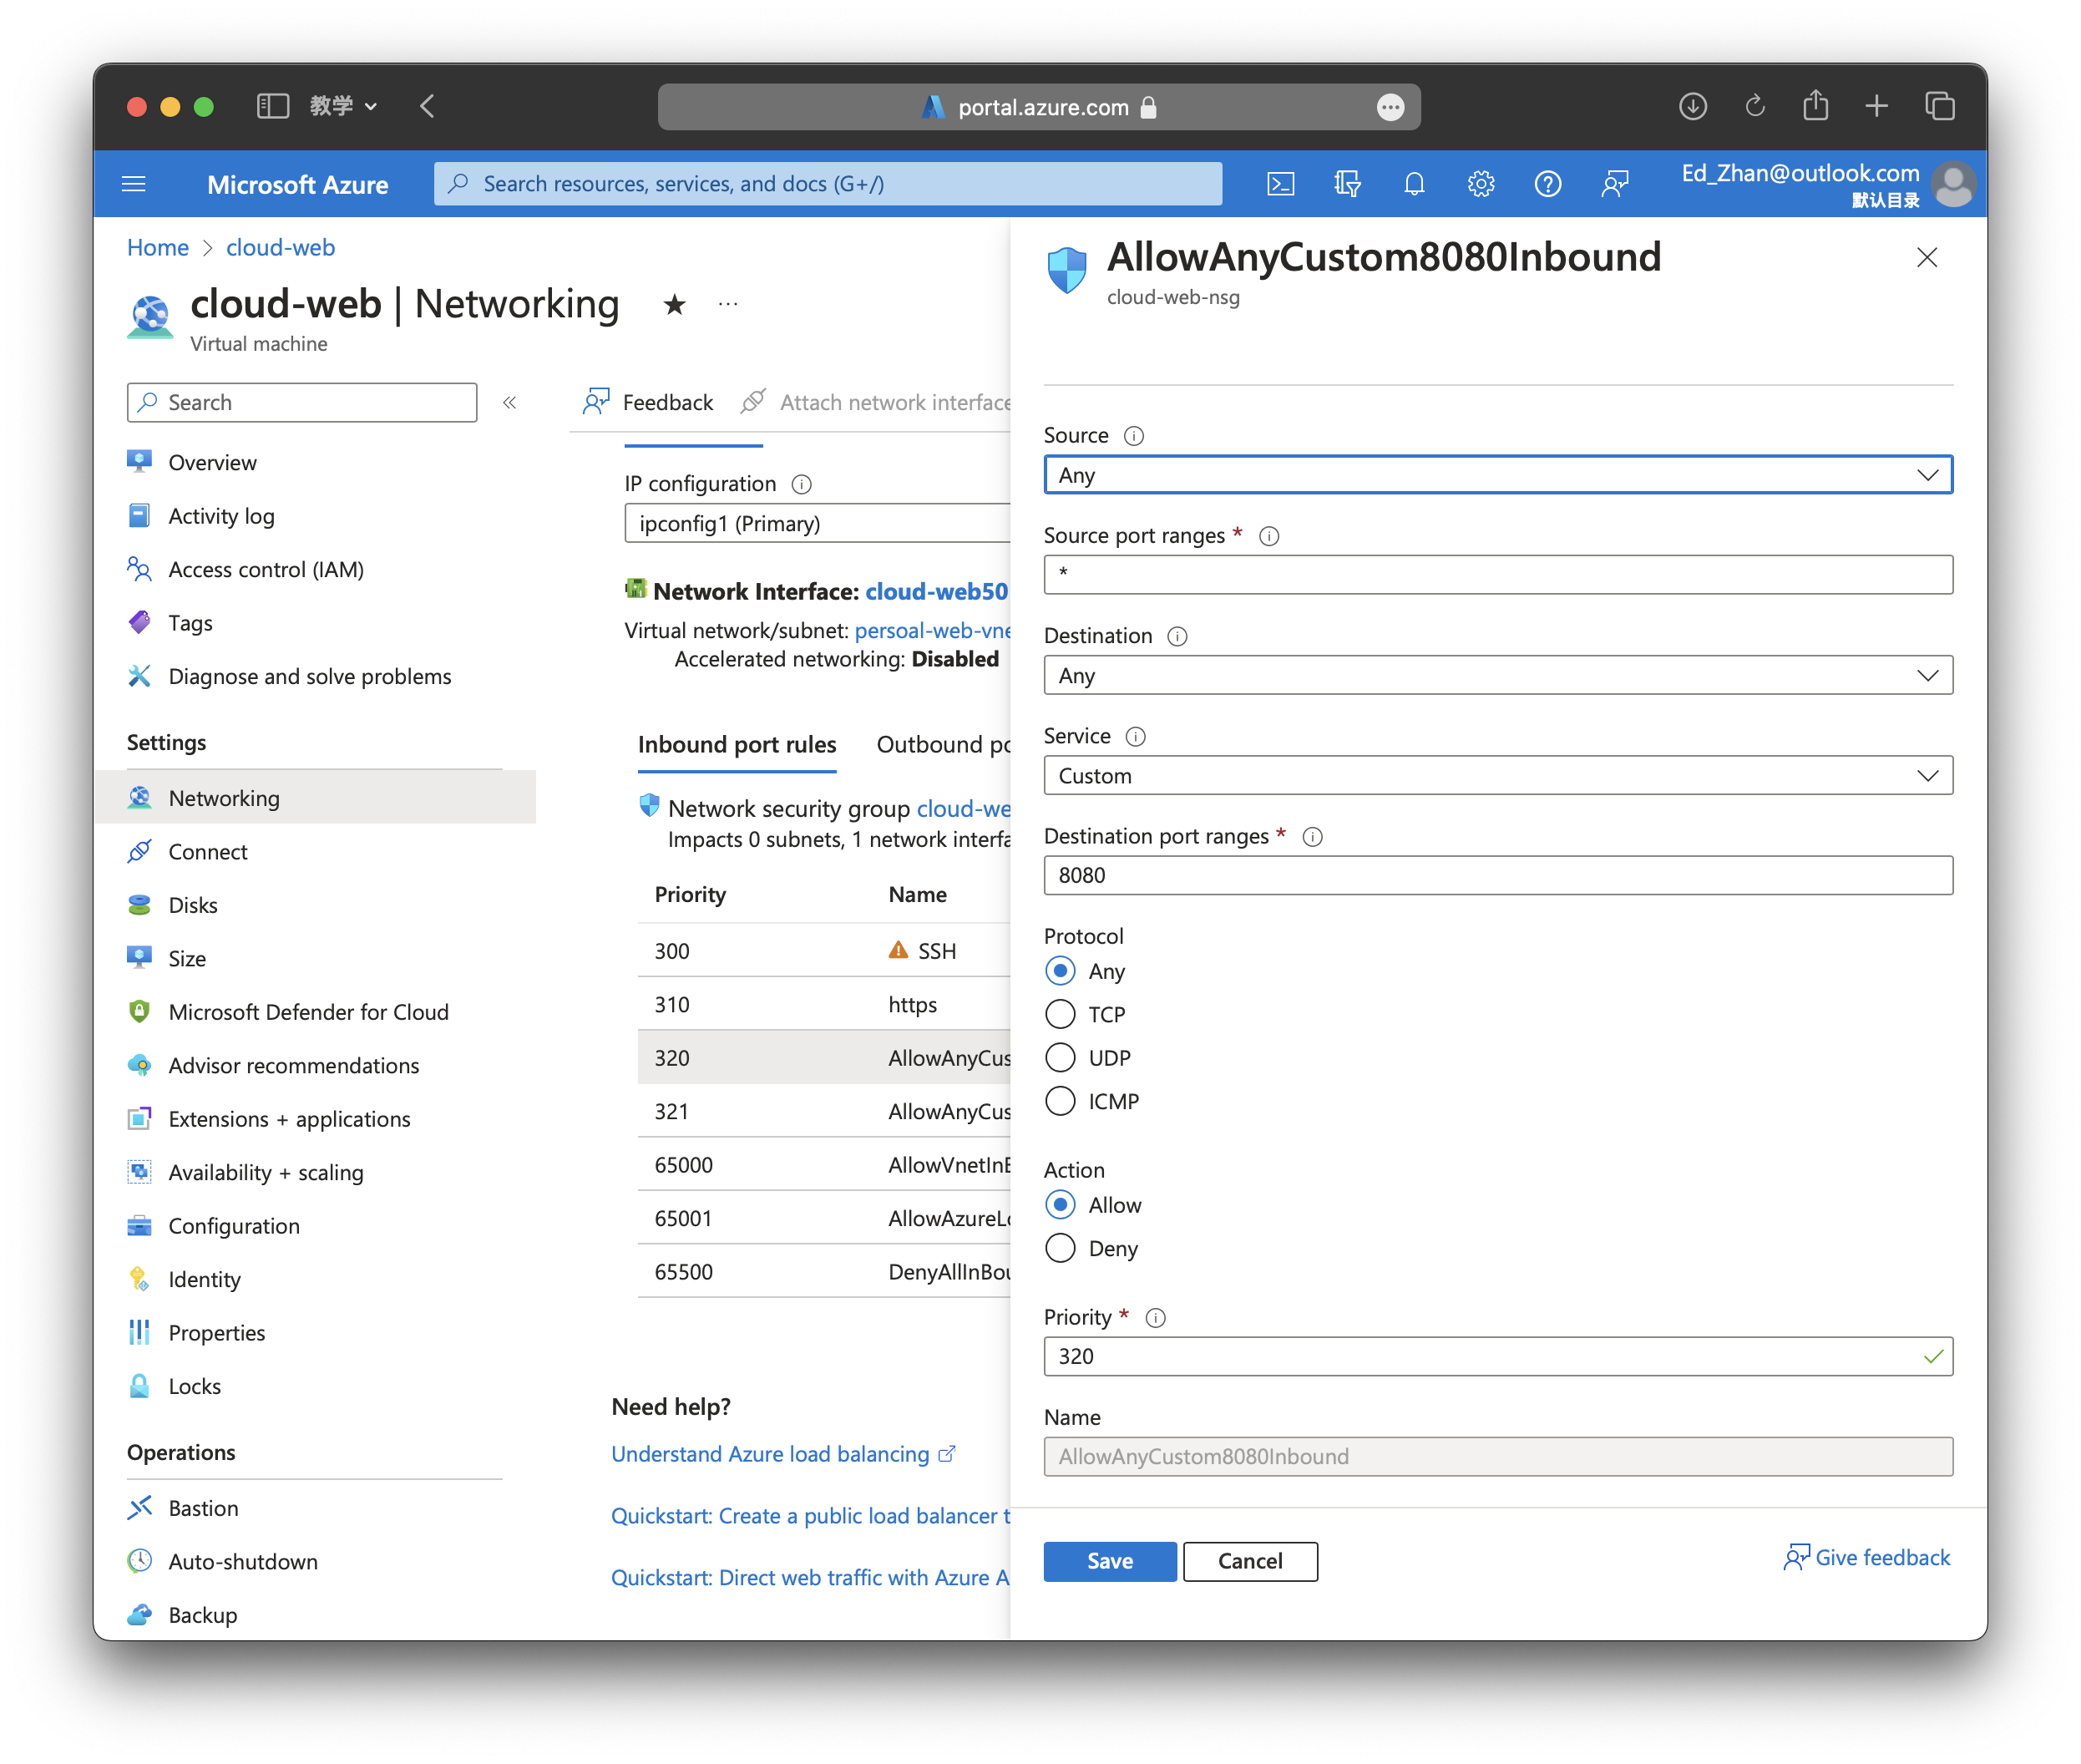
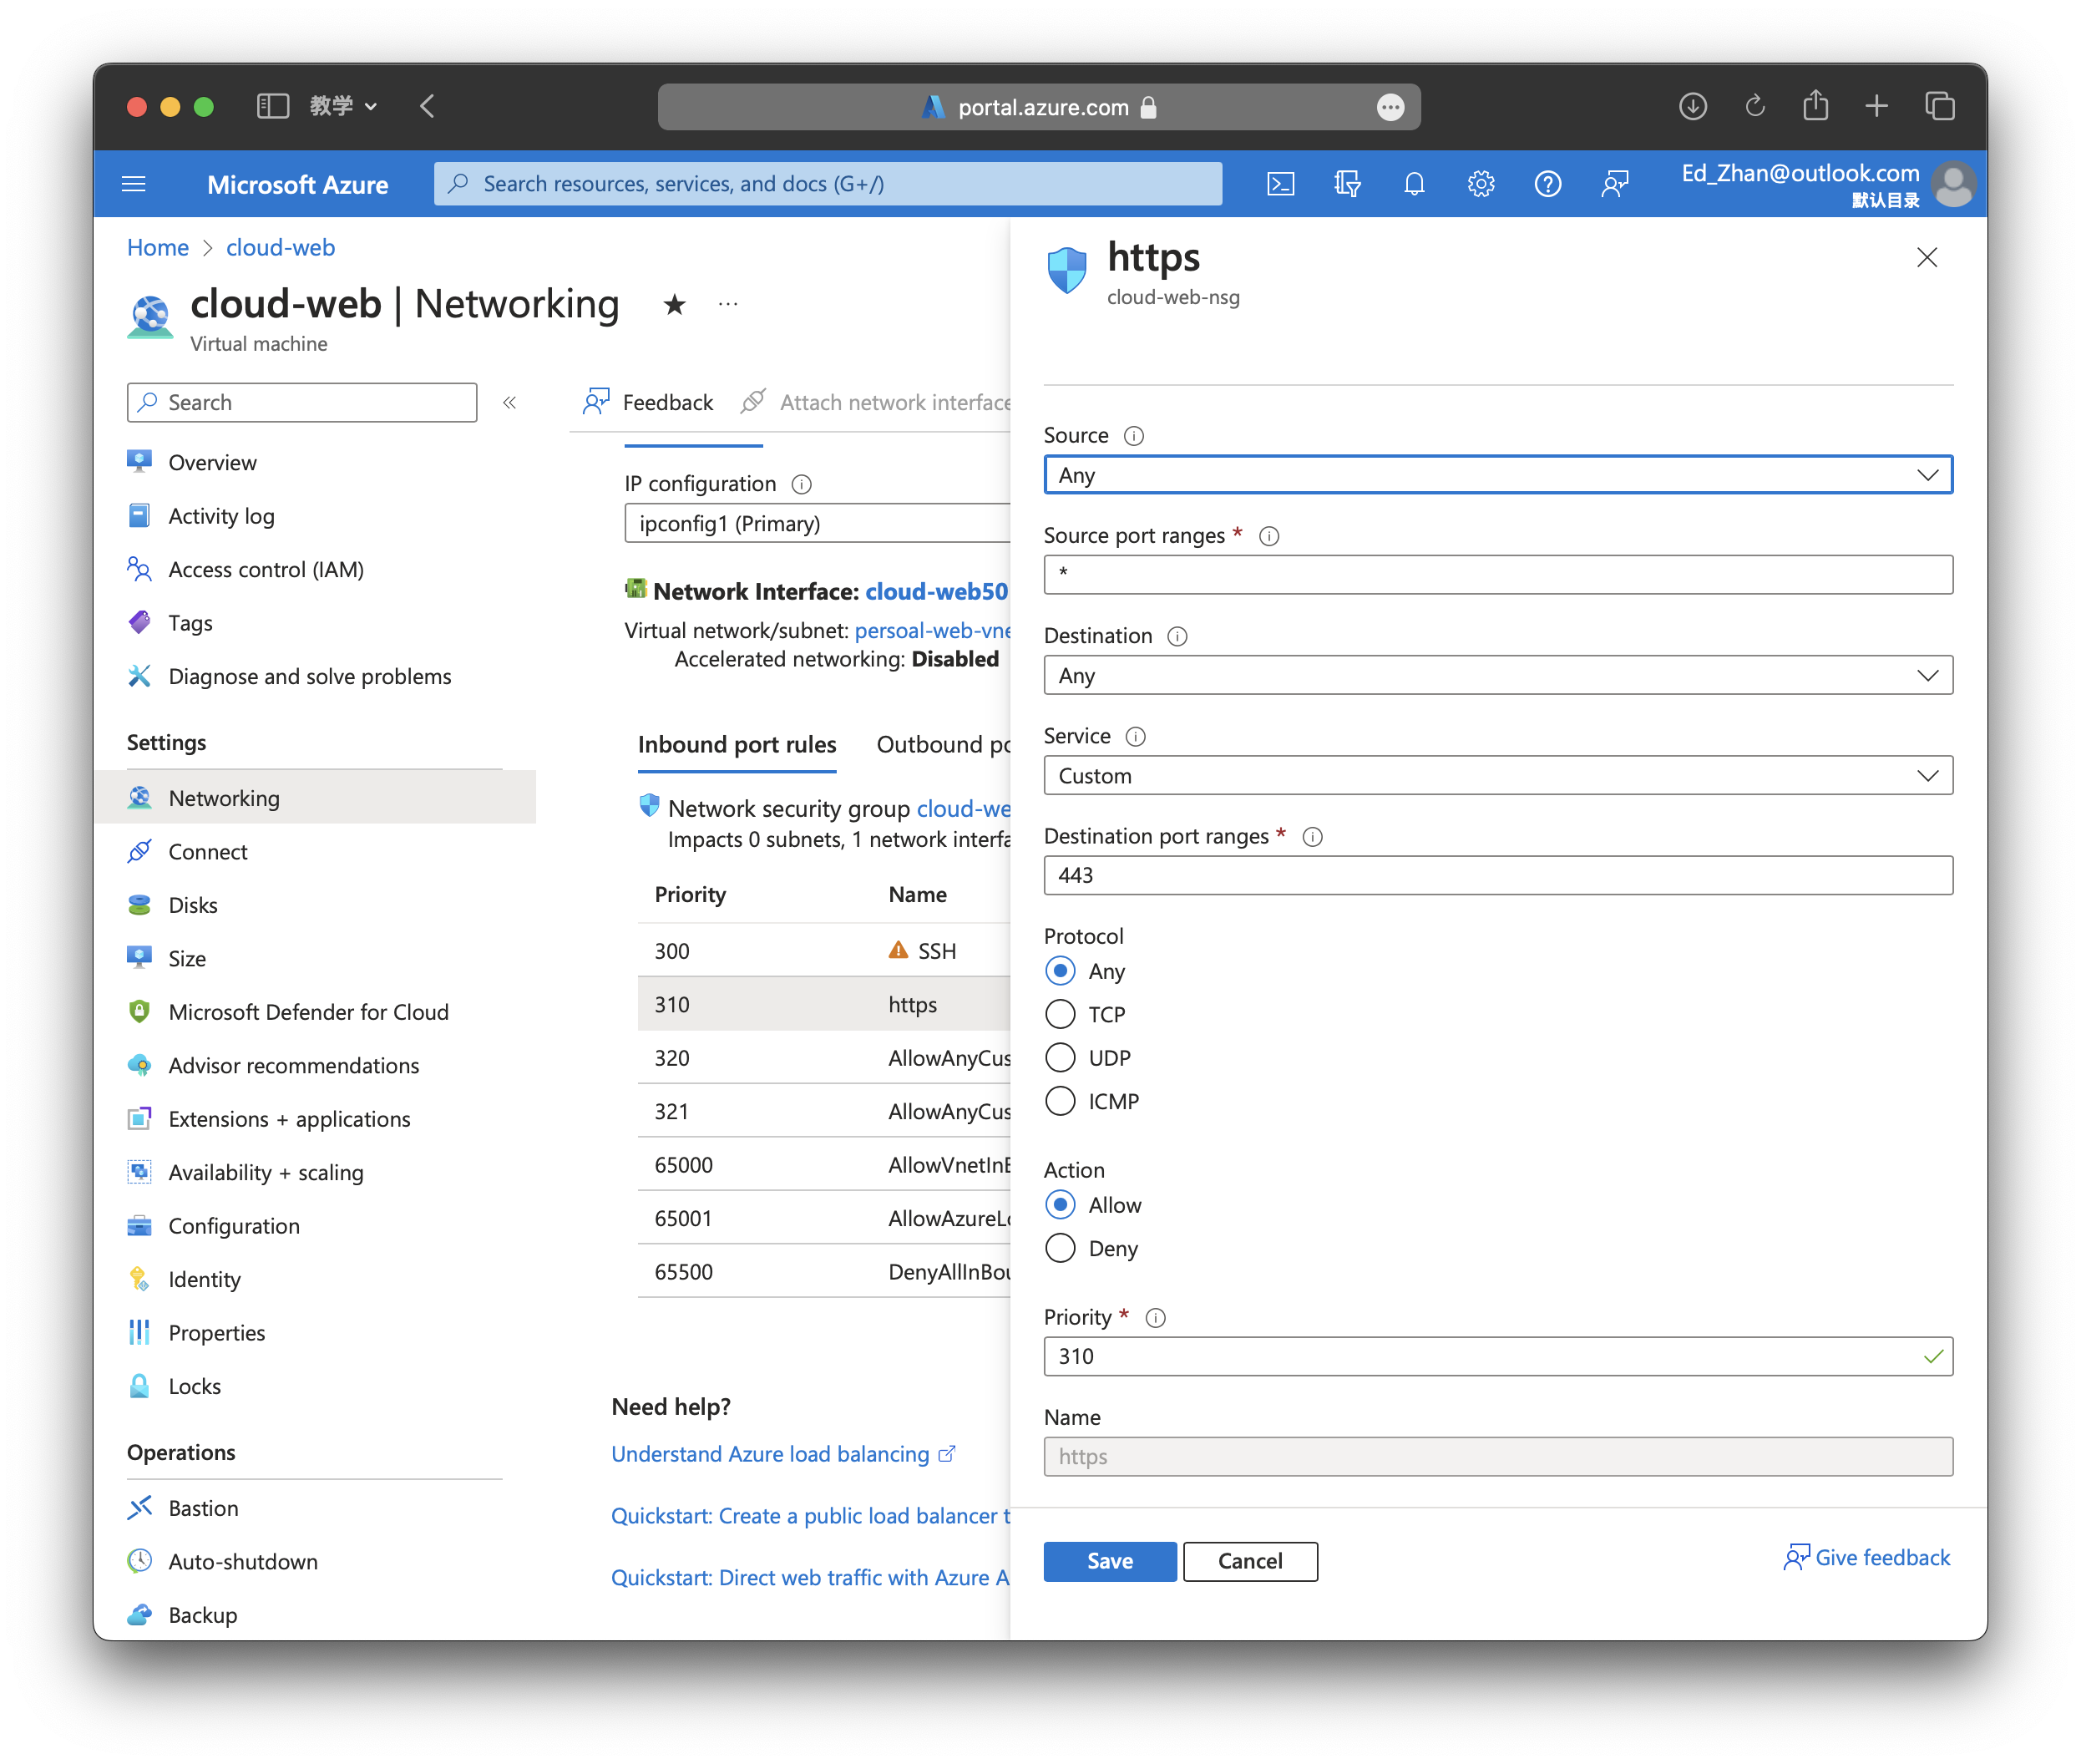
Open ports
In order to establish a connection to the internet, we need to open ports 80, 8080, and 443, we can do this under the Settings -> Networking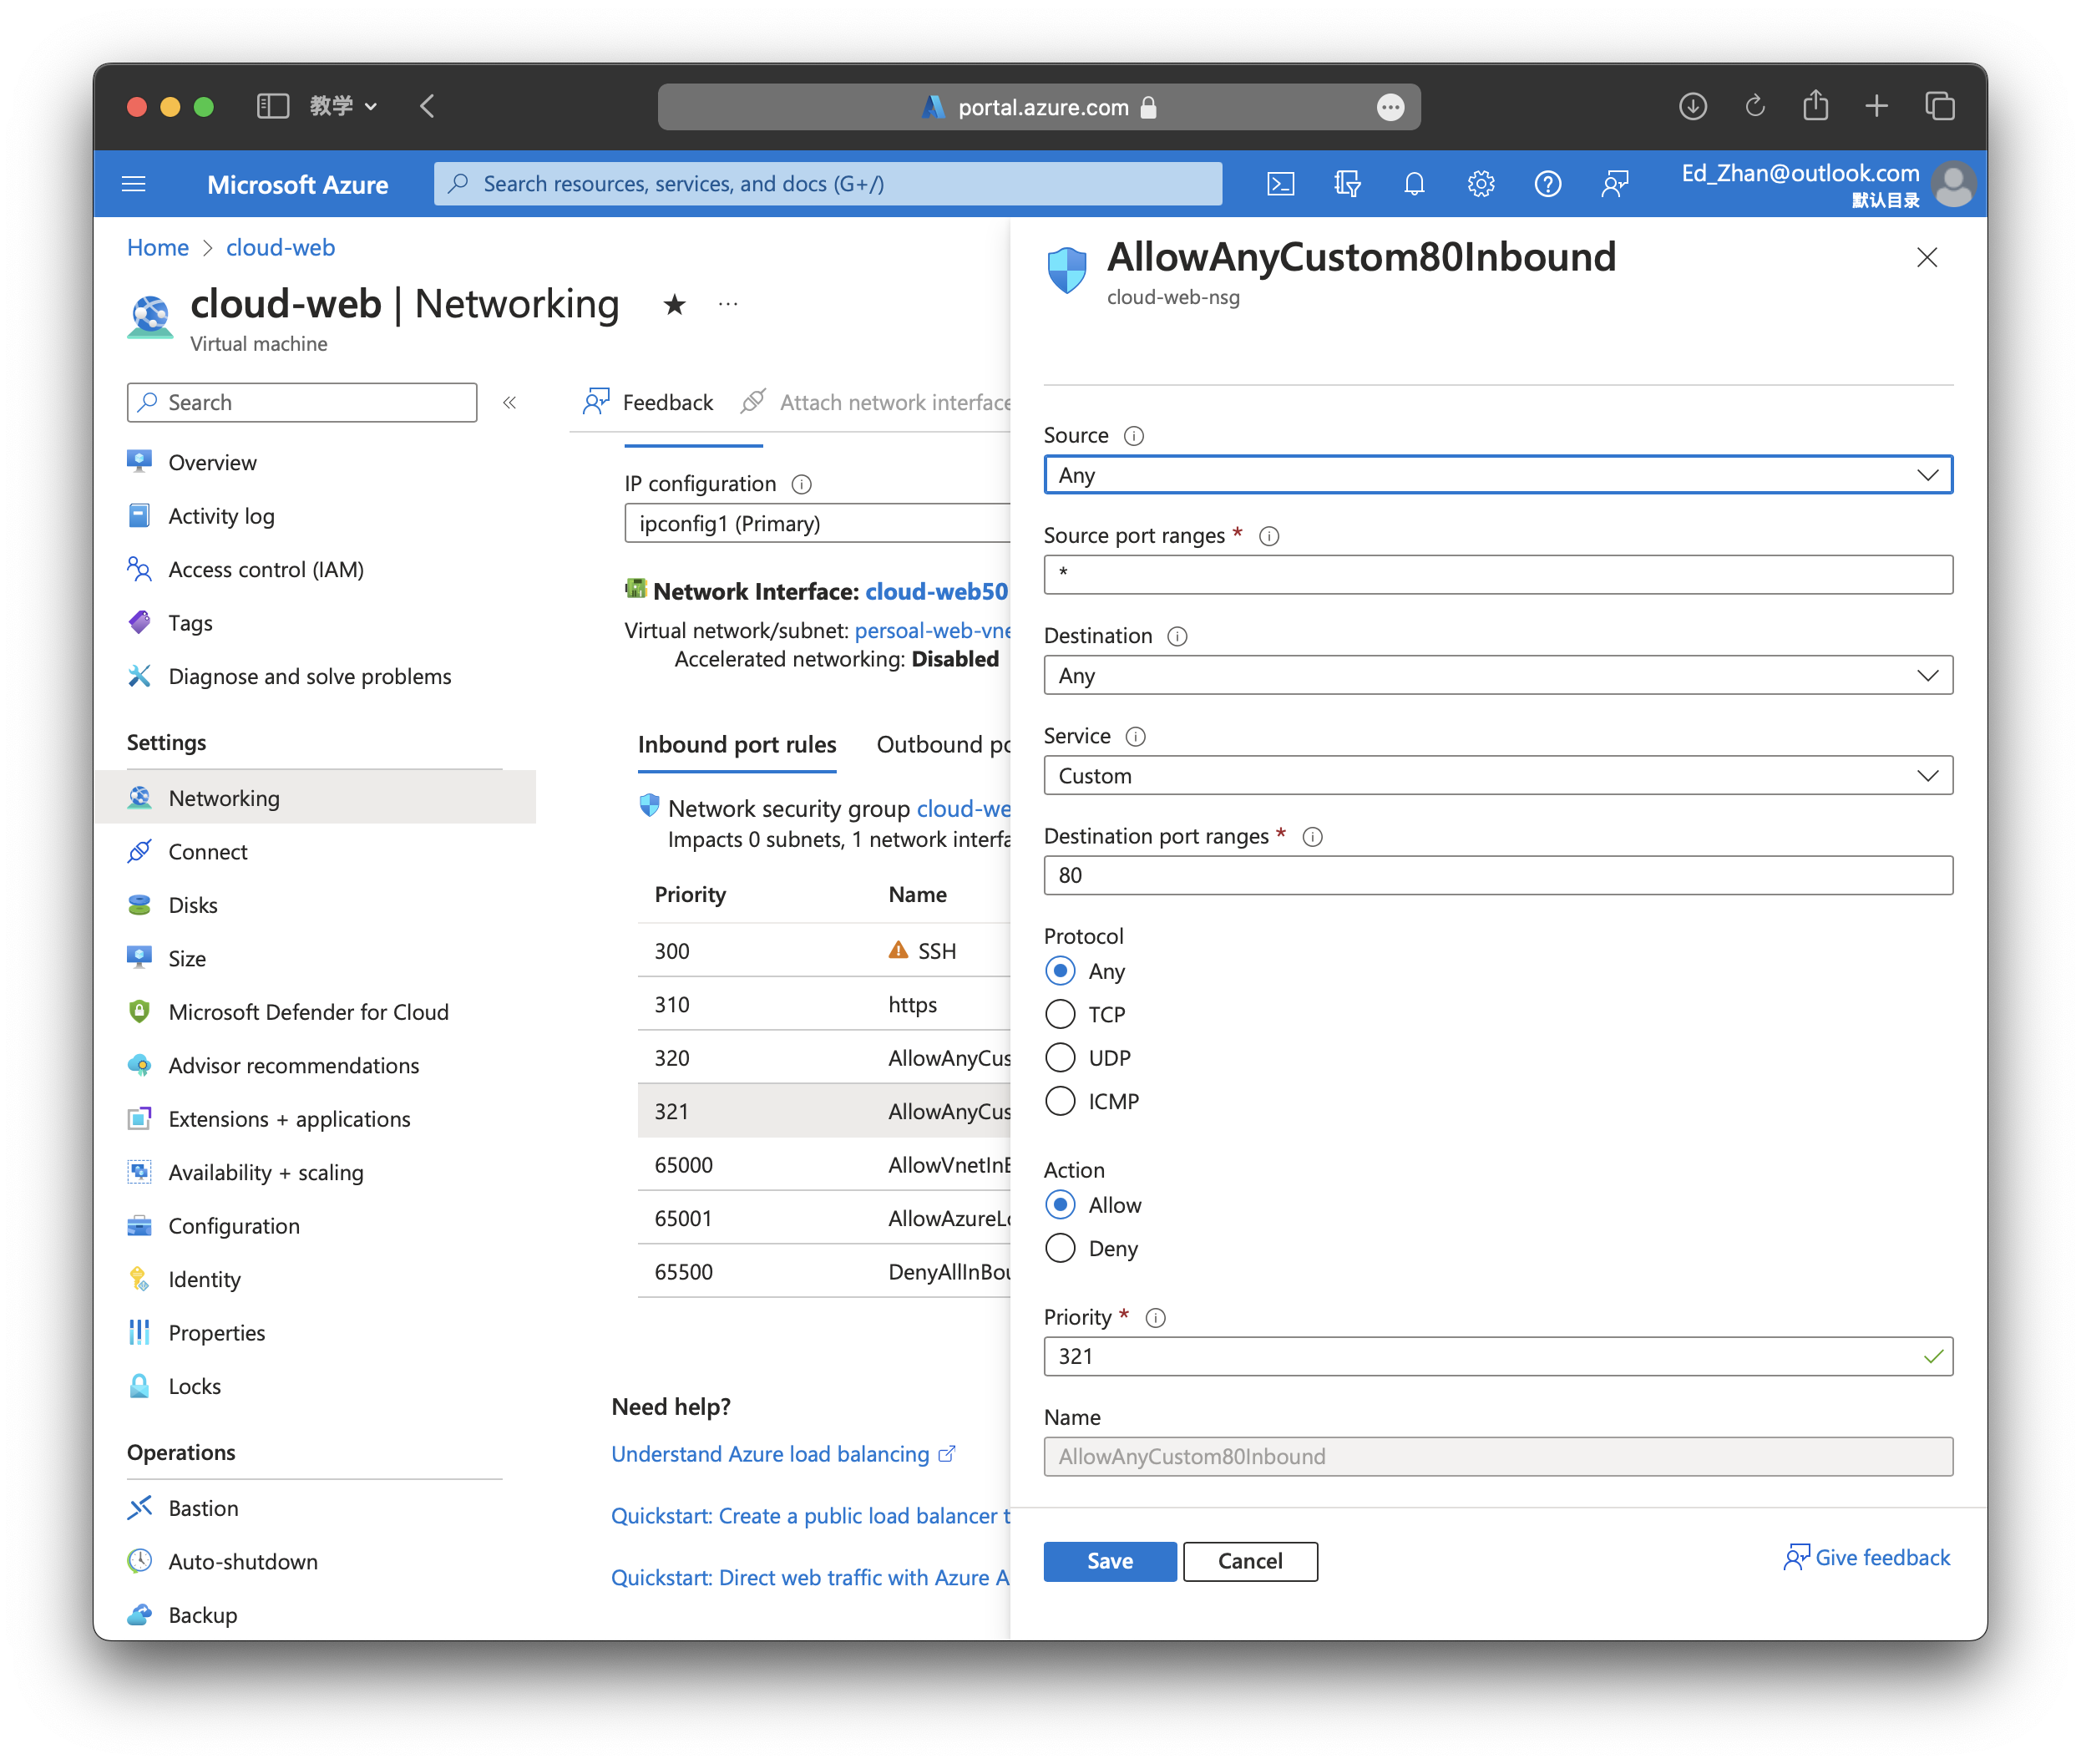
OK, Let's go and connect our VM!